Disclosure: Some of the links on this page are affiliate links. This means that, at no additional cost to you, I may earn a small commission if you click through and make a purchase. I only recommend products that I personally use or believe will be helpful in emergency preparedness.
Earthquake Survival Kit: The Ultimate 2024 Checklist
When the ground starts to shake, it’s too late to prepare. In those first few chaotic moments, and in the hours and days that follow, the actions you’ve taken beforehand will make all the difference. Having a well-stocked earthquake survival kit is the single most important step you can take to ensure the safety and well-being of your family. It’s not about paranoia; it’s about empowerment. It’s about giving yourself the tools to remain calm, safe, and self-sufficient when infrastructure is down and emergency services are overwhelmed.
This guide will walk you through, step-by-step, everything you need to build a comprehensive earthquake kit. We’ll go beyond the basic lists and dive into the ‘why’ behind each item, helping you create a customized plan that fits your family’s unique needs.
Why an Earthquake Survival Kit Isn’t Optional, It’s Essential
Imagine the immediate aftermath of a major earthquake. Power lines are down, leaving your neighborhood in the dark. Water mains are broken, meaning nothing comes out of the tap. Cell towers and internet services are overloaded or damaged. Roads may be impassable, and emergency responders will be focused on the most critical incidents, like collapsed buildings and major fires.
In this scenario, you and your family could be on your own for at least 72 hours, and potentially up to a week or more. This is where your earthquake survival kit becomes your lifeline. It provides the essentials for survival: clean water, food, light, medical care, and shelter. It’s your personal, localized support system, designed to bridge the gap until normalcy begins to return and aid becomes widely available.
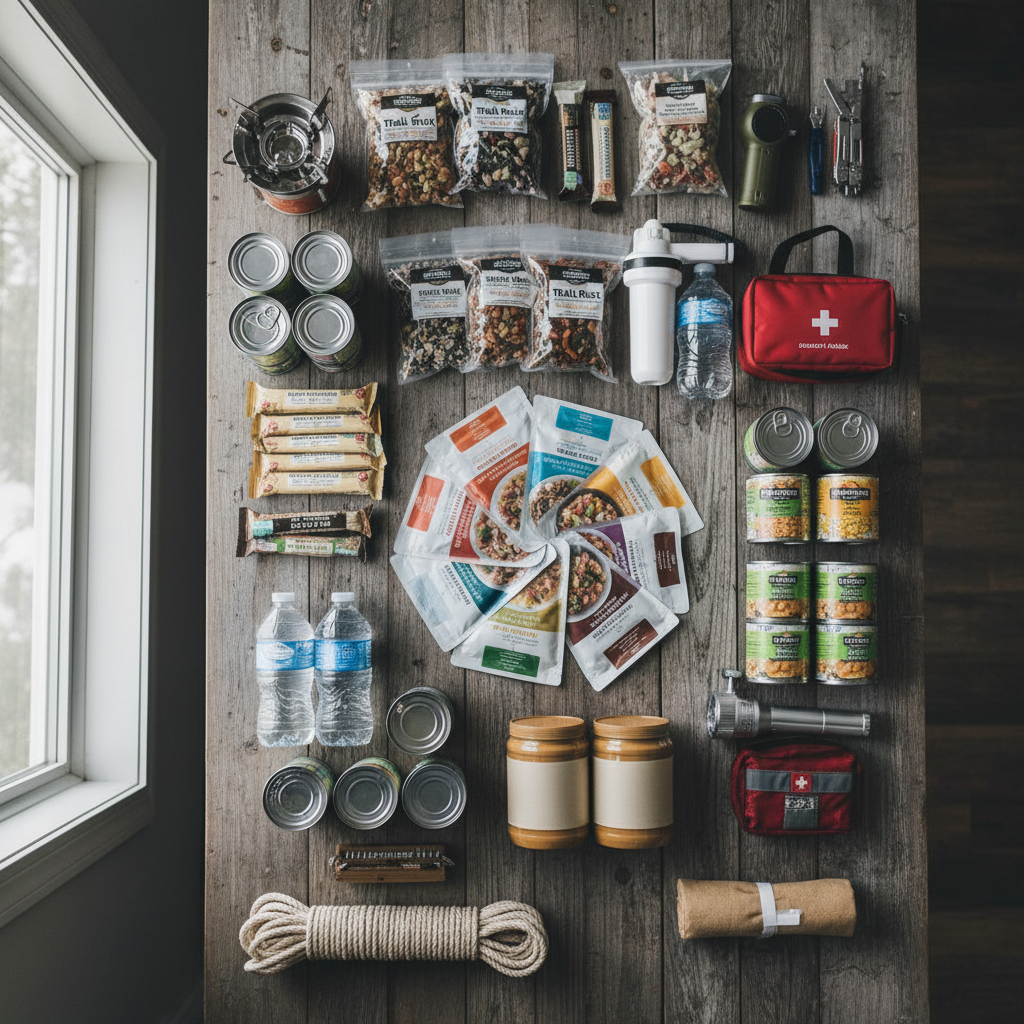
The Core Four: Your Non-Negotiable Emergency Supplies
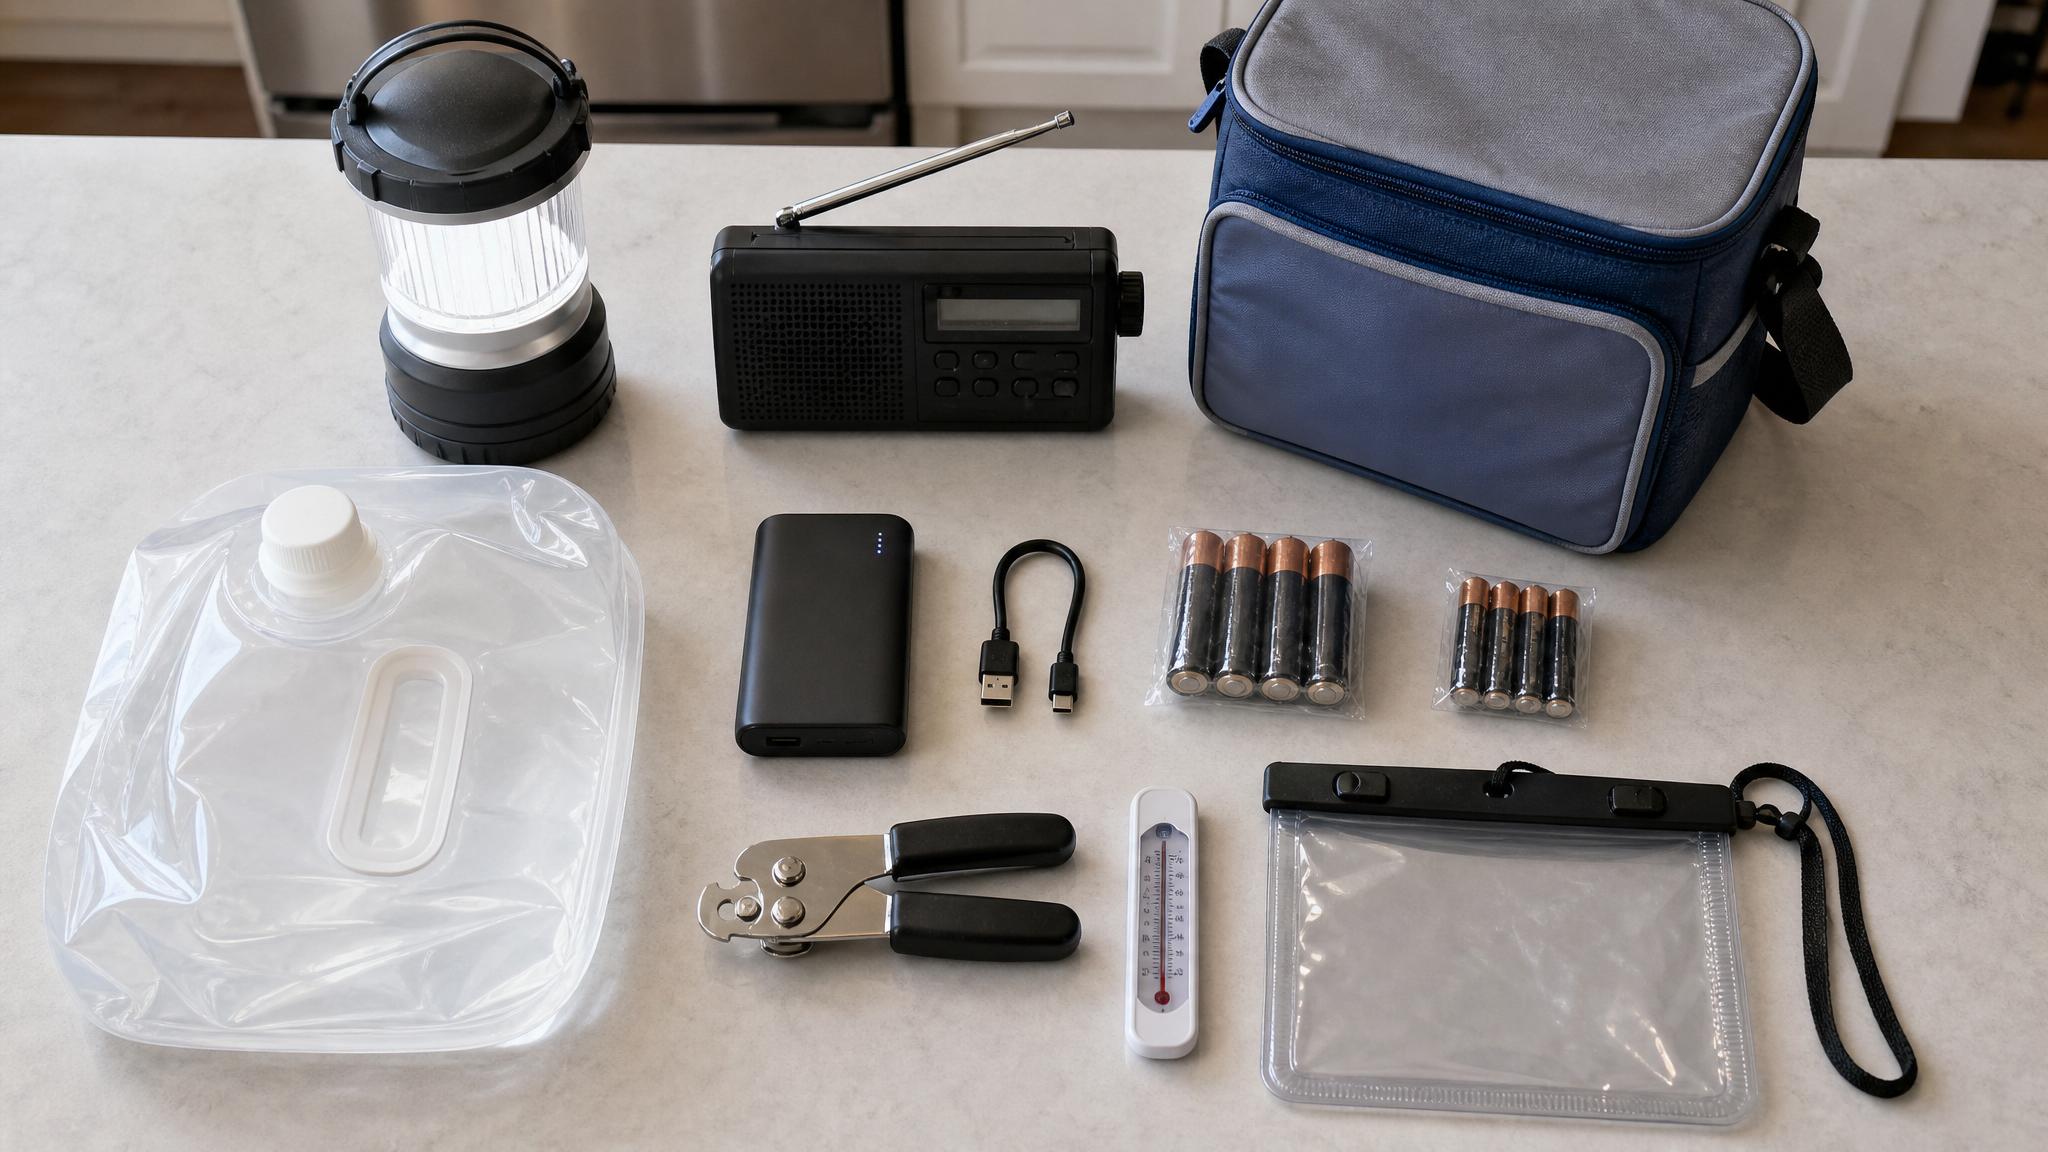
While a comprehensive kit has many components, it’s built on a foundation of four critical categories. Get these right, and you’ve covered the most immediate threats to your well-being.
1. Water: The Most Critical Element
You can survive for weeks without food, but only a few days without water. In an earthquake, your regular water supply is likely to be compromised. Your goal should be to store:
- One gallon of water per person, per day. This accounts for drinking and basic sanitation.
- A minimum of a 3-day supply, but a 7- to 14-day supply is strongly recommended.
- For pets: Don’t forget to include extra water for your furry family members.
Pro-Tip: Store commercially bottled water as it’s the safest and most reliable. For long-term storage, consider water purification tablets or a high-quality portable water filter like a Lifestraw or Sawyer Squeeze as a backup.
2. Food: Fuel for Resilience
After a disaster, your body needs energy. Focus on non-perishable, high-calorie foods that require no cooking or refrigeration.
- Canned Goods: Soups, stews, vegetables, and fruits. Look for pop-top cans to reduce reliance on a can opener.
- High-Energy Snacks: Protein bars, granola bars, nuts, trail mix, and dried fruit.
- Comfort Foods: Peanut butter, crackers, and other non-perishable favorites can be a huge morale booster, especially for children.
- Crucial Tool: Pack a manual can opener. This is one of the most frequently forgotten items.
3. First-Aid: For Injuries Big and Small
Minor injuries can become major problems without proper care. A pre-made first-aid kit is a good start, but you should enhance it for earthquake-specific injuries like cuts, scrapes, and fractures.
- Basic Supplies: Assorted bandages, sterile gauze pads, adhesive tape, antiseptic wipes, and pain relievers.
- Advanced Items: Trauma shears, a tourniquet (and knowledge of how to use it), triangular bandages, and a splint.
- Personal Medications: A 7-day supply of any prescription medications, along with a list of dosages.
4. Light & Communication: Your Link to the Outside World
When the power is out, darkness brings risk and uncertainty. Staying informed is crucial for making safe decisions.
- Lighting: Every person should have a flashlight or headlamp. LED models are bright and have long battery lives. Store extra batteries with the lights, but store them separately or reversed in the device to prevent drain.
- Communication: A hand-crank or battery-powered NOAA Weather Radio will provide you with emergency broadcasts and updates.
- Signaling: A loud whistle is a simple but effective way to signal for help if you are trapped.
- Power: A fully charged power bank or solar charger for your mobile phone.
Building the Ultimate Earthquake Survival Kit: A Detailed Checklist
Once you have the Core Four covered, it’s time to build out the rest of your kit to handle a wider range of challenges.
Tools & Safety Gear
- Utility Wrench: To turn off your natural gas and water mains if you suspect a leak. Know how and when to do this *before* an emergency.
- Multi-Tool or Basic Tool Kit: Pliers, screwdrivers, and a knife can be invaluable.
- Work Gloves: To protect your hands from broken glass and debris.
- N95 or P100 Dust Masks: To filter contaminated air and dust.
- Goggles: To protect your eyes from debris.
- Fire Extinguisher: ABC-type, and ensure everyone in the house knows how to use it.
Sanitation & Hygiene
Maintaining hygiene can prevent the spread of disease, especially when sanitation systems are down.
- Toilet paper and wet wipes
- Hand sanitizer
- Soap (bar or liquid)
- Toothbrushes and toothpaste
- Feminine hygiene supplies
- Garbage bags with plastic ties for personal sanitation (can be used with a bucket for an emergency toilet)
Shelter & Warmth
You may need to evacuate your home or live without heat. Staying warm and dry is critical.
- Emergency Mylar Blankets: For every person in your household.
- Sleeping Bags or Wool Blankets: One per person.
- Sturdy Shoes: Keep a pair under your bed. You do not want to walk through debris-filled areas barefoot or in flimsy shoes.
- Extra Clothing: A complete change of clothes for everyone, including layers, socks, and a rain jacket.
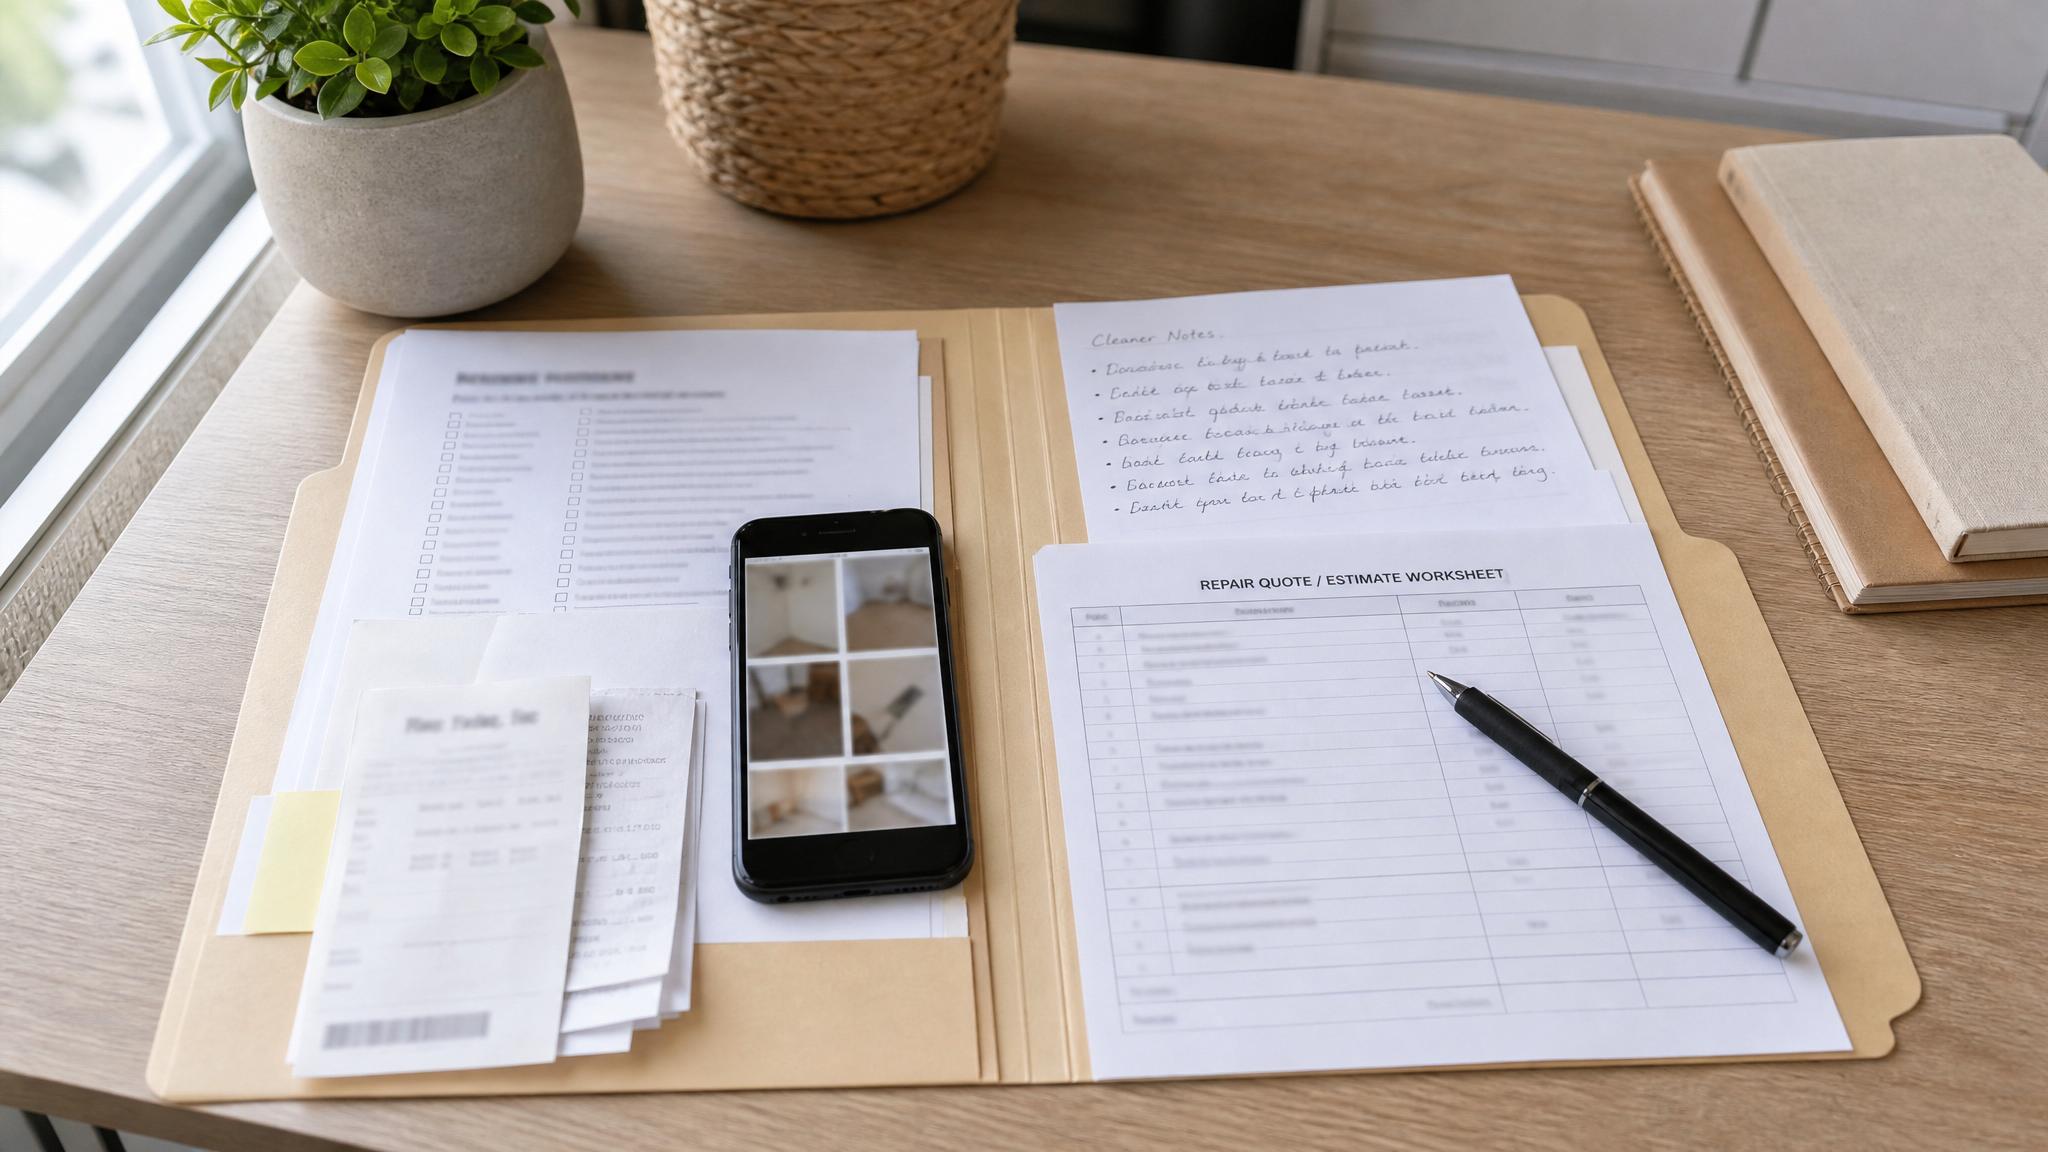
Important Documents & Cash
Access to personal information and money will be critical for recovery.
- Cash: Small bills and coins. ATMs and credit card machines will not be working.
- Copies of Documents: Passports, driver’s licenses, birth certificates, social security cards, insurance policies, and deeds/titles.
- Storage: Keep physical copies in a waterproof, portable container. Also, save digital copies on an encrypted USB drive in your kit and to a secure cloud service.
Personalizing Your Kit for Family, Pets, and Medical Needs
A one-size-fits-all approach doesn’t work for preparedness. Tailor your kit to your specific situation.
- For Infants & Children: Include formula, diapers, wipes, bottles, and any necessary medications. Pack small games, books, or comfort items to reduce stress.
- For Seniors & Individuals with Disabilities: Extra prescription medications, spare eyeglasses or contact lenses, hearing aid batteries, and any necessary medical equipment or mobility aids.
- For Pets: A week’s supply of pet food and water, a leash and harness, a carrier, medications, and copies of vaccination records. A favorite toy can also help reduce their anxiety.
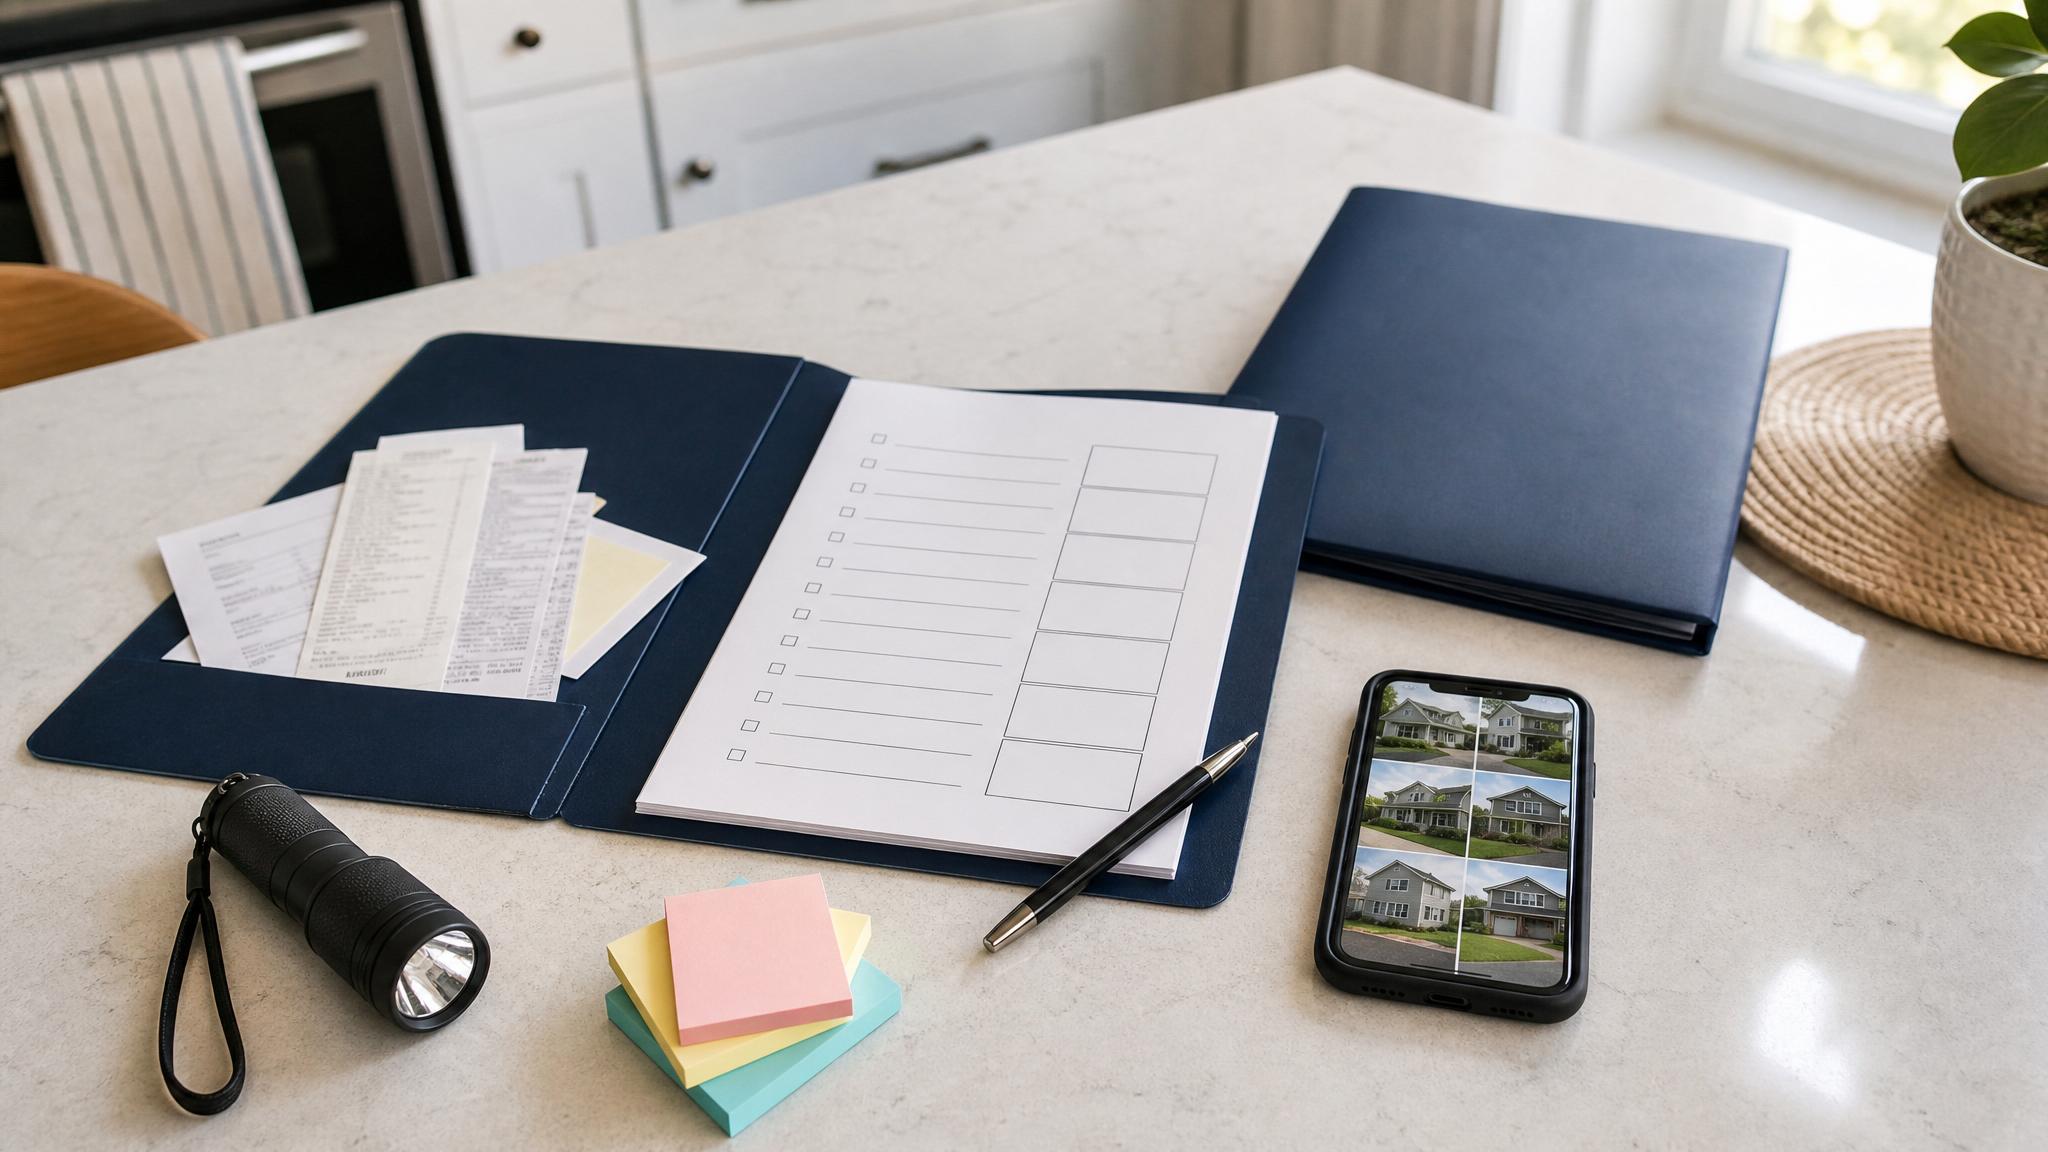
Kit Strategy: Where to Store Your Supplies for Quick Access
Don’t just have one kit. The best strategy involves multiple kits stored in different locations.
- The Home Kit: This is your main, most comprehensive kit. Store it in a cool, dark, and easily accessible location like a garage, shed, or closet near an exit. Use a large duffel bag or a sturdy container on wheels.
- The Car Kit: Earthquakes can strike while you’re on the move. Your car kit should have at least 72 hours of supplies, including water, food, a first-aid kit, blankets, and local maps (in case GPS is down).
- The Work/Go-Bag: A portable backpack for each person with 24-72 hours of essentials. This is the kit you grab if you need to evacuate quickly on foot.
Building an earthquake survival kit is an act of resilience and a profound investment in your family’s safety. Take it one step at a time. Use this checklist to gather your items, and involve your whole family in the process. The peace of mind you’ll gain is priceless. Start today—your future self will thank you.
Frequently Asked Questions About Earthquake Survival Kits
How long should my earthquake kit last?
While the traditional advice is a minimum of 72 hours, experts at FEMA and other agencies increasingly recommend aiming for up to two weeks of self-sufficiency. In a catastrophic earthquake, it could take that long for aid and infrastructure to be restored. Start with a 3-day goal and build up from there.
Should I buy a pre-made kit or build my own?
Pre-made kits are a great starting point and are certainly better than nothing. However, they are often one-size-fits-all. The best approach is to either build your own from scratch or buy a pre-made kit as a base and then heavily customize it. Add personal medications, family documents, higher-quality tools, and items specific to your children or pets.
How often should I update my earthquake survival kit?
You should review and update your kit every six months. Set a recurring reminder on your phone or calendar (e.g., when you change your clocks for daylight saving time). During your review, you should: check and rotate expiration dates on food, water, and medications; test batteries and replace as needed; and update clothing for the current season.
What are the most overlooked items in a survival kit?
Some of the most commonly forgotten but crucial items include a manual can opener, a wrench to shut off utilities (gas and water), cash in small bills (ATMs and credit card machines will be down), N95 dust masks for air quality, and simple entertainment for children like books or cards to help manage stress in a difficult situation.