A simple security deposit photo checklist can make move-out records much easier to review later. You are not trying to create a dramatic case file or predict every possible problem. You are creating a clear, calm record of how the rental looked before you returned the keys.
Use this checklist before your final walkthrough, especially if you are packing quickly, cleaning in stages, or juggling movers. The goal is to keep your photos, receipts, notes, and handoff details in one place instead of scattered across your camera roll.
Before you start: set up your move-out photo folder
Create one folder before you take the first photo. A simple name works:
Apartment Move-Out Photos - May 2026
Inside that folder, make subfolders for:
- Wide room photos
- Close-ups
- Cleaning proof
- Repairs or maintenance notes
- Keys and access items
- Walkthrough notes
- Receipts
Use cloud storage if you can, such as Google Drive, iCloud, Dropbox, or OneDrive. If your phone is lost or damaged during the move, you still want access to the records.
Room-by-room photos to take
Start with every room, even if it looks boring. Boring photos are often the most useful because they show normal condition.
For each room, take:
- One photo from the doorway
- One photo from the opposite corner
- Photos of walls, floors, ceilings, doors, and windows
- Photos of closets with doors open
- Photos of built-in shelves, cabinets, or storage areas
- Photos of any existing dents, stains, chips, scratches, or worn areas
Include living rooms, bedrooms, bathrooms, kitchens, hallways, laundry areas, balconies, garages, storage closets, and entryways if they are part of your rental.
Kitchen move-out photos
Kitchens have a lot of surfaces and appliances, so take a slow pass here.
Photograph:
- Refrigerator exterior and interior
- Freezer interior
- Oven and stovetop
- Microwave, if included
- Dishwasher, if included
- Sink, faucet, and garbage disposal area
- Countertops
- Cabinet and drawer interiors
- Pantry shelves
- Floors and baseboards
- Under-sink cabinet
If you cleaned the oven, fridge, or cabinets, take photos after cleaning. Save any professional cleaning receipts in the same folder.
Bathroom move-out photos
Bathrooms are another place where small details matter. Take photos of:
- Shower or tub
- Sink and faucet
- Vanity and cabinet interiors
- Toilet
- Mirror
- Floors
- Walls and ceiling
- Exhaust fan or vent
- Towel bars and fixtures
- Under-sink area
Use good lighting and take close-ups of any chips, stains, missing pieces, or existing wear.
Walls, floors, doors, and windows
These are common areas for move-out disagreements, so document them clearly.
Take photos of:
- Nail holes or wall marks
- Scuffs behind furniture
- Carpet stains or worn areas
- Scratches on hard flooring
- Door handles and locks
- Window blinds or curtains, if provided
- Window screens
- Baseboards and trim
- Ceiling stains or cracks
If something was already documented at move-in, keep your move-in and move-out photos together when possible.
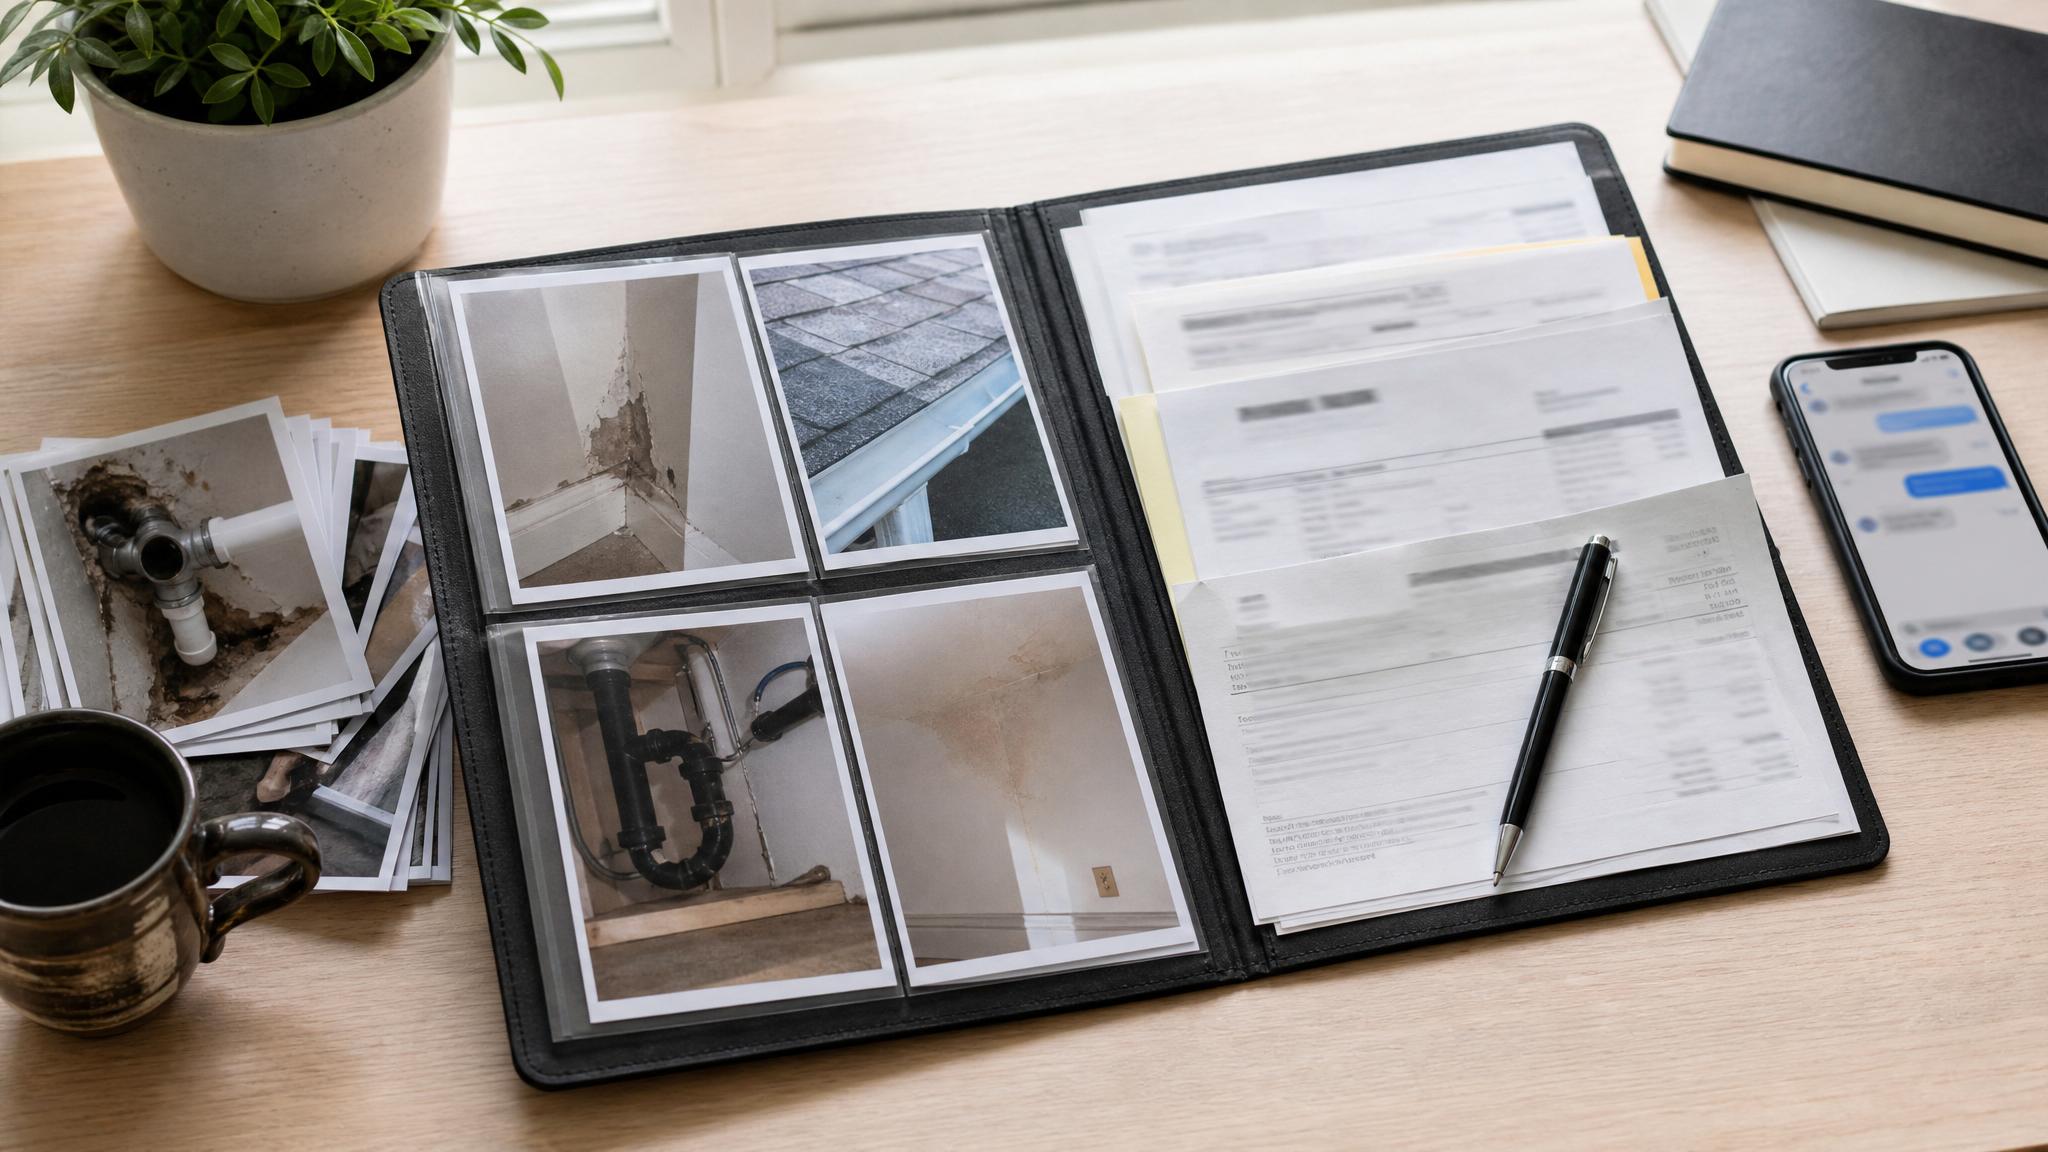
Cleaning and repair proof to save
Your security deposit photo checklist should include more than photos of rooms. Save simple proof of cleaning and allowed repairs too.
Useful records include:
- Cleaning receipts
- Carpet cleaning receipts
- Trash or junk removal receipts
- Photos of cleaned appliances
- Photos of empty cabinets and closets
- Maintenance messages
- Approved repair notes
- Before-and-after photos for small fixes
Do not overcomplicate this. The point is to make the timeline easier to understand later.
Keys, fobs, remotes, and access items
Before you return access items, take one photo of everything together.
Include:
- Door keys
- Mailbox keys
- Garage remotes
- Gate cards
- Building fobs
- Parking passes
- Storage room keys
- Any written return instructions
If you return keys in person, note the date, time, location, and who received them. If you leave them in a drop box or office, save a photo or message confirming what you did.
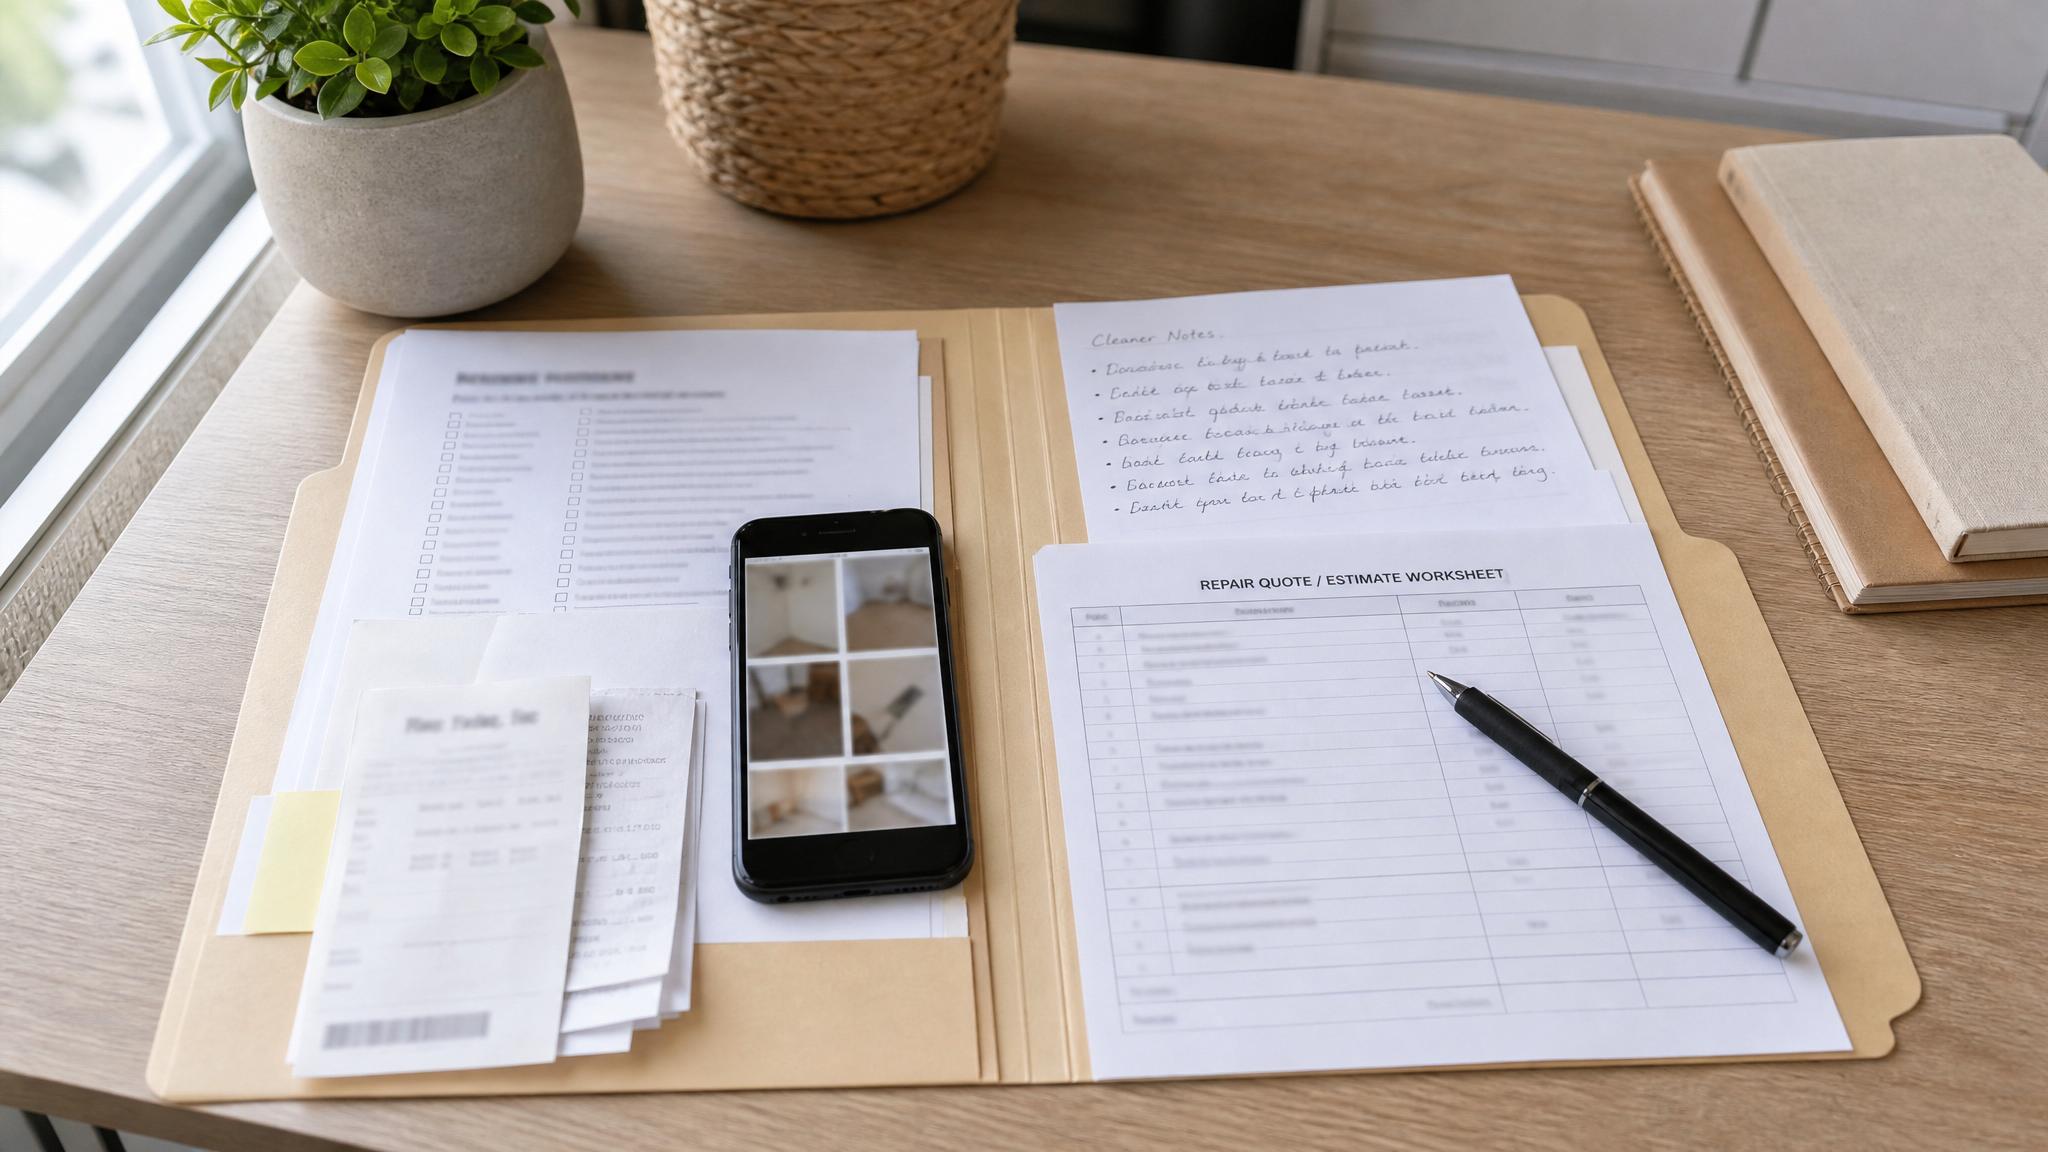
Final walkthrough notes
If there is a final walkthrough, keep a short written record.
Save:
- Date and time
- Who attended
- Any notes discussed
- Photos taken during or immediately after the walkthrough
- Copies of forms or move-out checklists
- Follow-up messages
If there is no walkthrough, write a quick note for yourself with the date you finished cleaning, moved out, and returned keys.
If movers damaged something
Moving damage records should stay connected to your move-out folder, but keep them in a separate subfolder so they do not get mixed up with apartment condition photos.
Save:
- Photos of damaged furniture or boxes
- Photos of box labels
- Inventory or bill of lading, if applicable
- Messages with movers
- Repair estimates
- Purchase records or value notes
- Dates and deadlines
If you want a calmer way to organize this, the Renter Move-Out + Moving Proof Bundle includes moving damage documentation templates along with move-out and condition records.
Common photo mistakes to avoid
Avoid these easy move-out documentation mistakes:
- Taking only close-ups with no room context
- Forgetting closets, cabinets, appliances, and under-sink areas
- Leaving all photos in an unorganized camera roll
- Photographing only damage, not the overall clean condition
- Not backing up photos outside your phone
- Editing photos heavily instead of keeping originals
- Forgetting key return and walkthrough notes
A useful record does not need to be perfect. It needs to be clear enough that future-you can understand it.
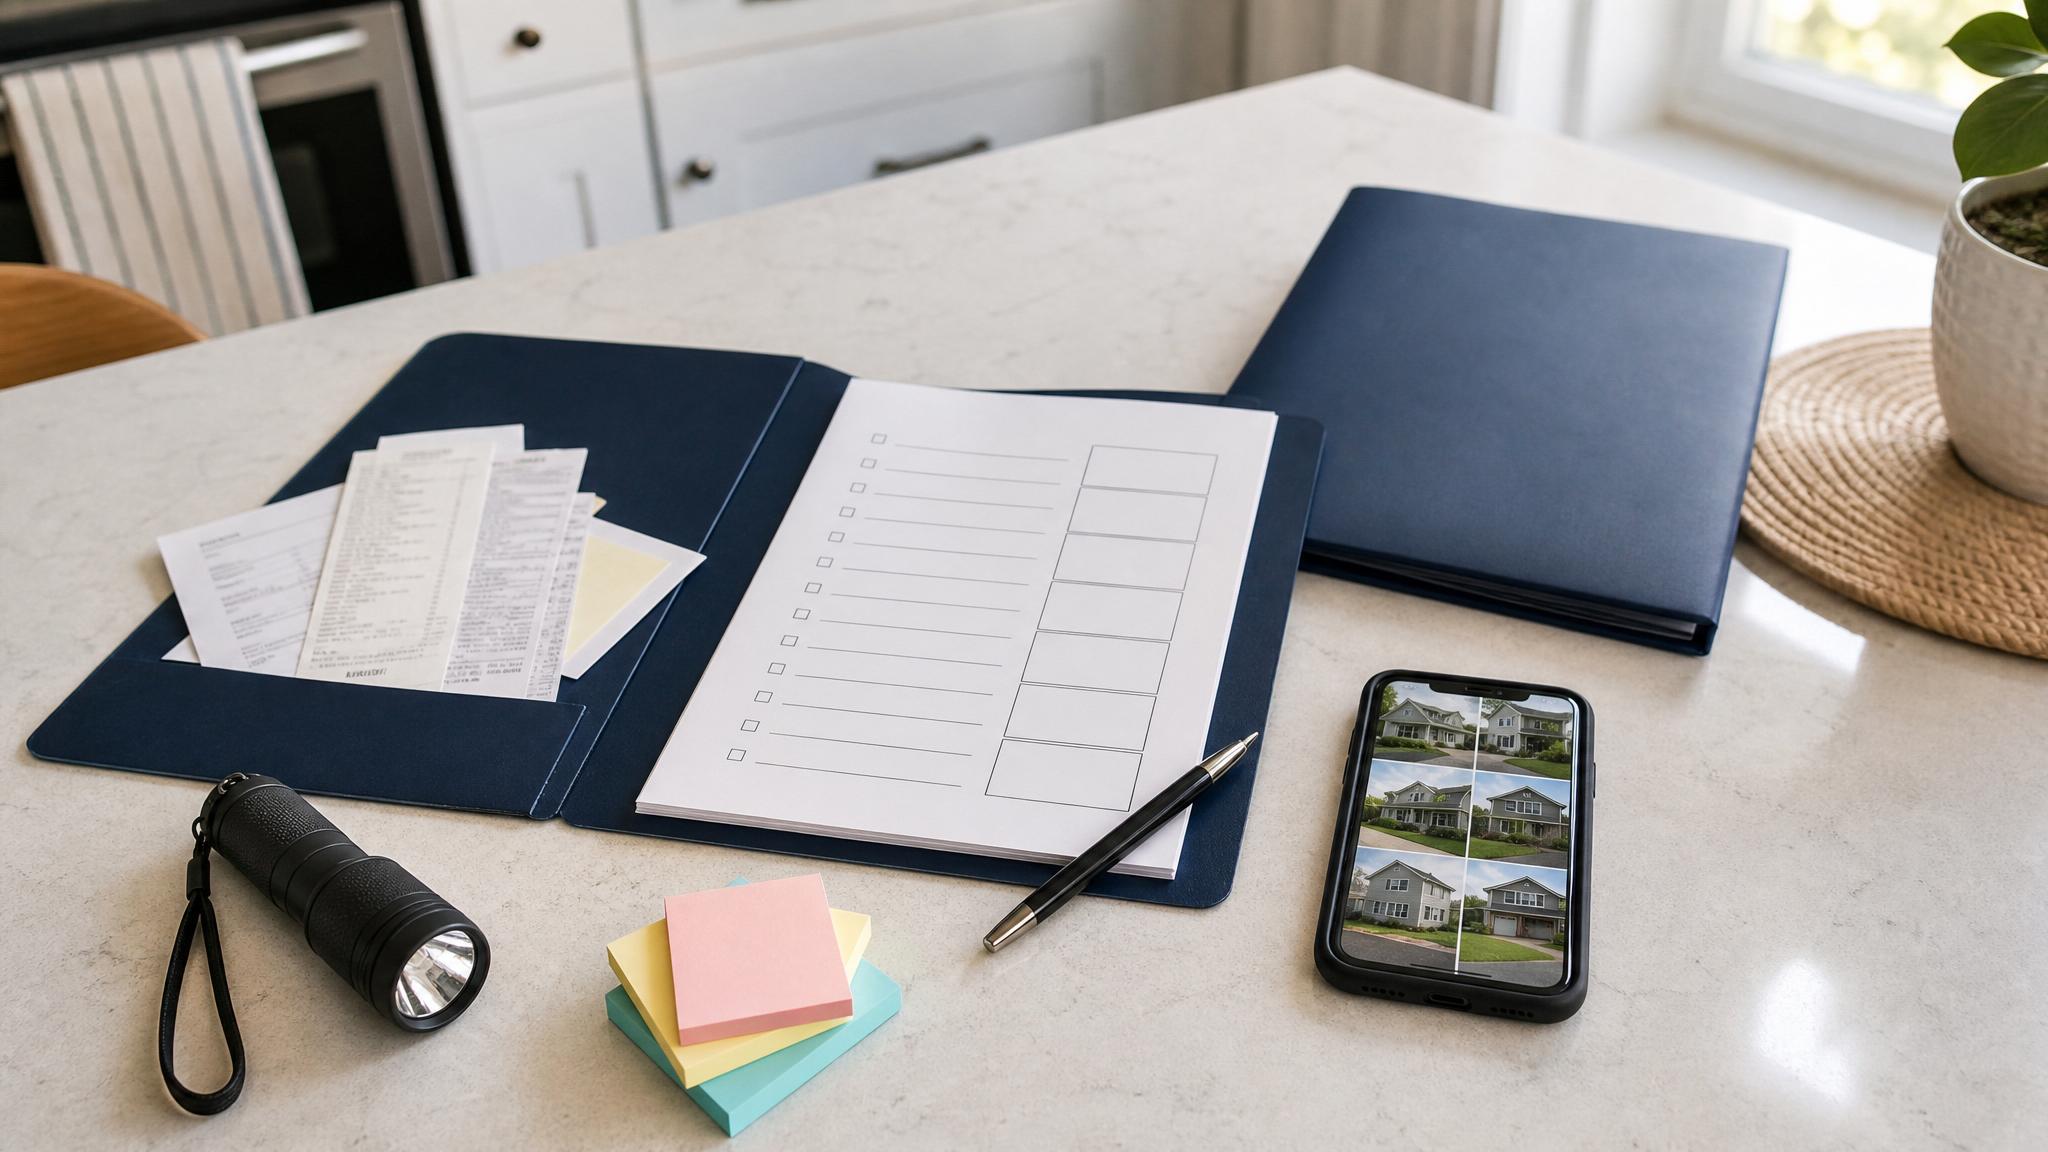
Free move-out photo checklist
If you want a simple printable version, grab the free Move-Out Photo Shot List from The File Cabinet:
Get the free Move-Out Photo Shot List
It gives you a room-by-room photo list so you do not have to remember every detail during moving week.
Optional bundle: keep the whole move organized
If you want the paperwork side handled too, the Renter Move-Out + Moving Proof Bundle includes move-out photos, move-in condition records, moving damage notes, and proof folders in one organized download.
View the Renter Move-Out + Moving Proof Bundle
This is for organization and documentation purposes only. It is not legal, financial, landlord-tenant, or insurance advice. It does not guarantee any deposit, claim, refund, or dispute outcome. Always confirm requirements with your lease, property manager, mover, or insurance provider.
Frequently asked questions
What should renters photograph before moving out?
Renters should photograph every room, walls, floors, doors, windows, closets, appliances, bathrooms, cabinets, cleaning proof, key return items, and any existing damage or wear. Take wide photos first, then close-ups.
Should I take photos before returning apartment keys?
Yes. Take your final move-out photos before returning keys or losing access to the rental. Also save a photo or note showing which keys, fobs, remotes, or access items were returned.
What proof should I keep for a security deposit?
Useful proof may include move-in photos, move-out photos, cleaning receipts, repair receipts, maintenance messages, walkthrough forms, key return notes, and dated communication with the property manager or landlord.
How should I organize move-out photos?
Create one cloud folder with subfolders for wide room photos, close-ups, cleaning proof, keys, receipts, and walkthrough notes. Use clear file names with the room, item, and date when possible.
Do I need photos of cleaning receipts?
Cleaning receipts can be useful if you paid for professional cleaning, carpet cleaning, trash removal, or small approved repairs. Save screenshots or photos of receipts in the same folder as your move-out records.