How to Earthquake Proof Home: A Budget-Friendly Guide
When you live in an earthquake-prone area, the “Big One” is always a lingering thought. You picture the ground shaking, and then you picture the repair bills. It’s easy to assume that making your home safer is a massive, expensive undertaking reserved for new construction and hefty budgets. But what if we told you that’s not the whole story? Learning how to earthquake proof home safety isn’t an all-or-nothing game. There are dozens of effective, affordable, and even DIY-friendly steps you can take right now to dramatically increase your home’s resilience and your family’s safety.
This guide is designed for the everyday homeowner and renter who wants to be prepared without breaking the bank. We’ll walk you through a prioritized list of actions, from simple five-minute fixes to weekend projects that can save lives and prevent thousands of dollars in damage. Let’s get started.
Why You Can’t Afford to Ignore Earthquake Preparedness
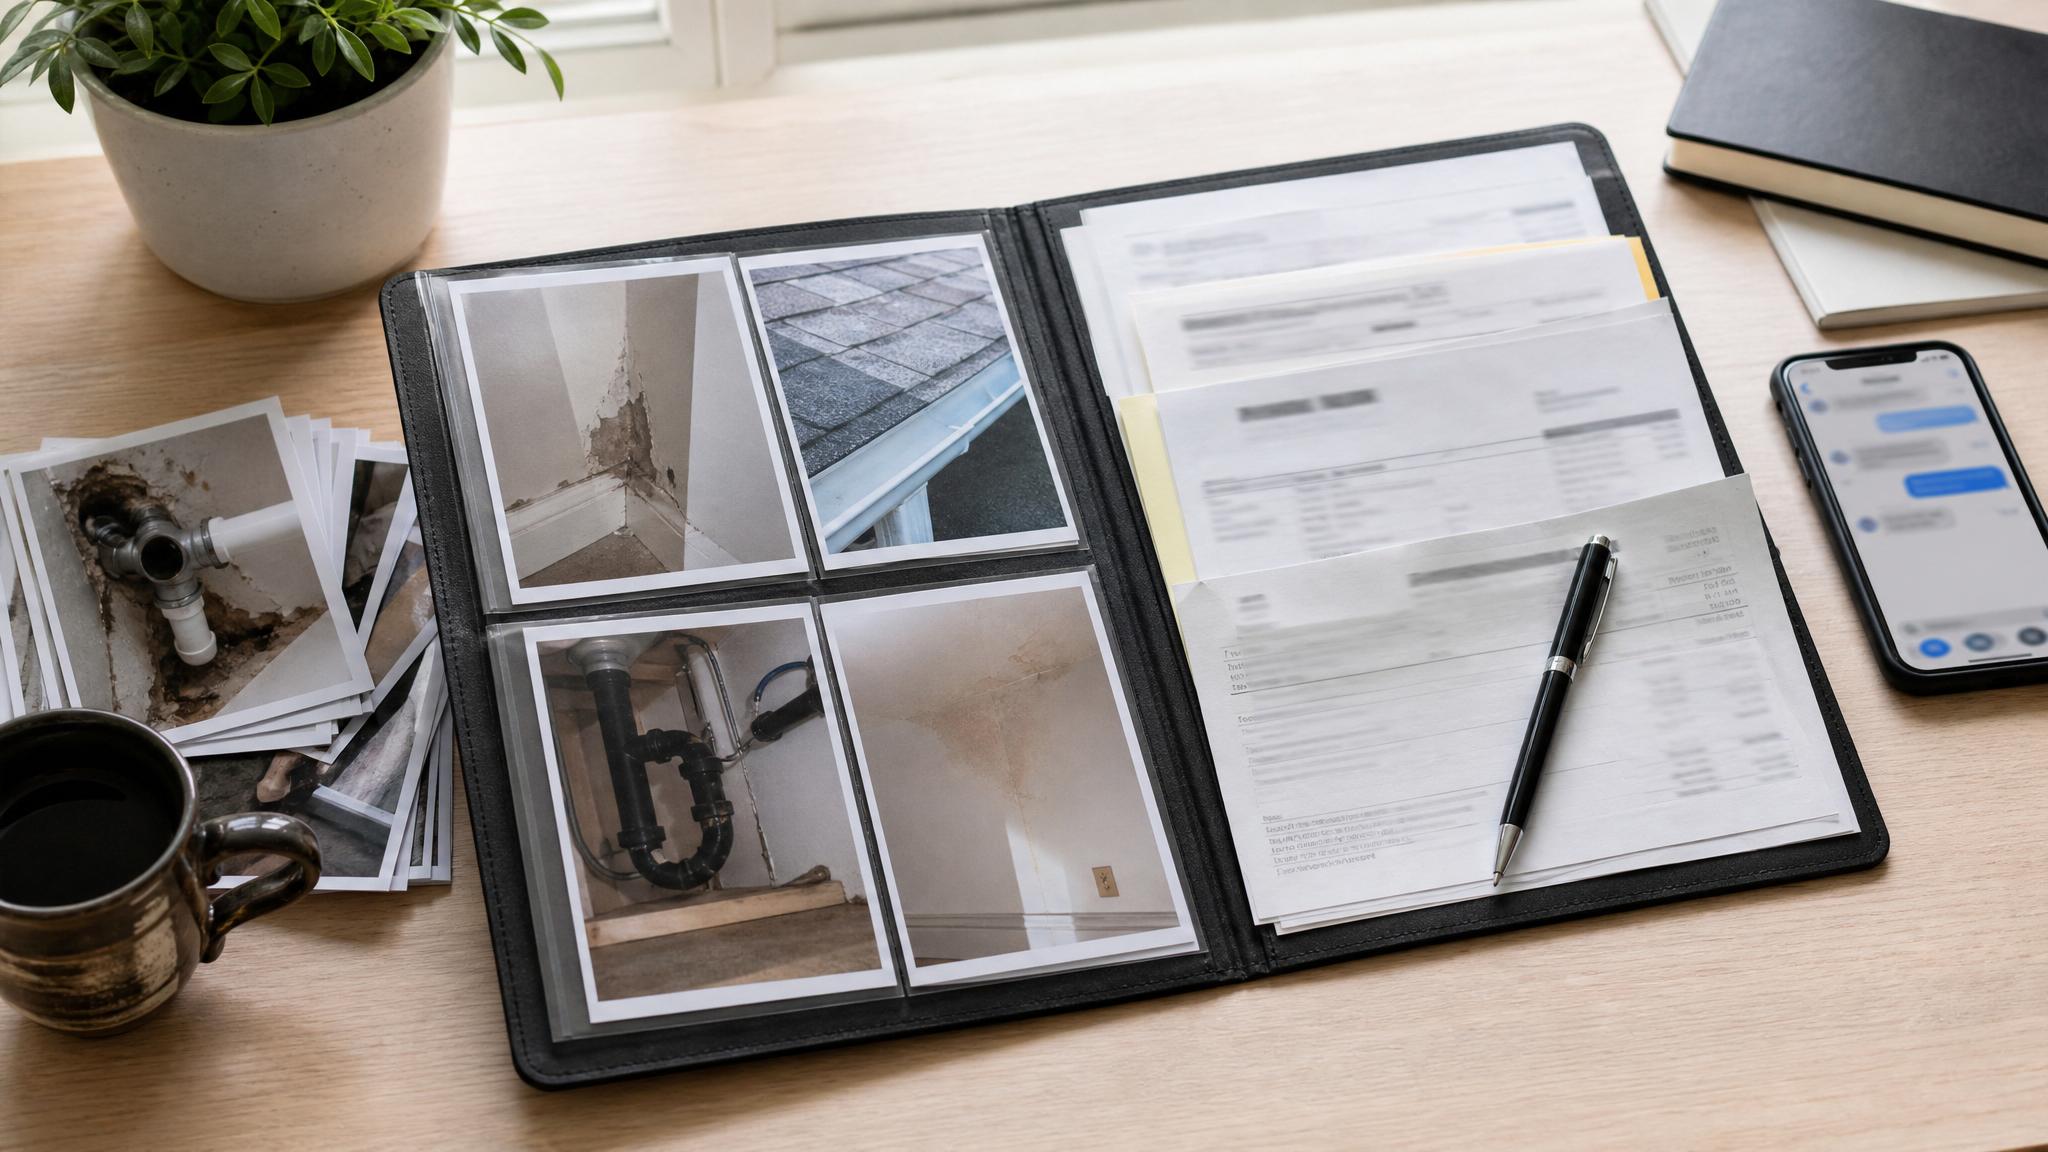
During an earthquake, the primary threats inside a home aren’t just structural collapse. Most injuries are caused by falling objects, flying glass, and toppling furniture. A heavy bookcase, an unsecured television, or even a large mirror can become a deadly projectile. The financial cost is also staggering—a water heater that tips over can flood your home, and shattered valuables are often irreplaceable.
The good news is that mitigating these common hazards is the most affordable part of earthquake preparedness. Every step you take, no matter how small, adds a layer of protection. Think of it as an investment with an incredible return: your family’s well-being. By focusing on smart, strategic upgrades, you can achieve a high level of safety for a fraction of the cost of a major structural overhaul.
Start Inside: Low-Cost Ways to Secure Your Living Space
The most immediate dangers during an earthquake are non-structural. This is where you can make the biggest impact on a small budget. Your goal is to prevent your belongings from becoming hazards. Grab a toolkit and let’s go room by room.
1. Secure Tall and Heavy Furniture
Anything that can tip over is a primary target. This includes bookshelves, file cabinets, entertainment centers, and china cabinets.
- What you need: Flexible furniture straps or L-brackets, a stud finder, a drill.
- The process: Use a stud finder to locate the wooden studs in your wall. Anchor one end of the strap or bracket to the stud and the other to the top of the furniture. Use two straps for wider pieces. This simple fix prevents furniture from toppling over and blocking exits or causing injury.
- Budget Tip: A pack of heavy-duty furniture straps costs around $15-$25 and can secure several items.
2. Fasten Down Electronics and Valuables
Televisions, computers, microwaves, and other heavy appliances can easily slide off surfaces. The same goes for cherished photos, vases, and sculptures on shelves.
- What you need: Museum putty (also called seismic wax) or quake hold gel for smaller items; flexible appliance straps for larger ones.
- The process: For smaller objects, place a small amount of museum putty on the bottom and press them firmly onto the shelf. It’s removable and won’t damage most surfaces. For TVs and microwaves, use specialized straps to anchor them to the wall or the furniture they sit on.
- Budget Tip: A single package of museum putty is less than $10 and can secure dozens of small items.
3. Latch Your Kitchen and Bathroom Cabinets
Imagine your kitchen cabinets flying open during a quake, sending a shower of broken glass and heavy cans across the floor. This not only creates a dangerous mess but also contaminates your food supply.
- What you need: Strong cabinet latches (child-proof latches often work well).
- The process: Install latches on all cabinets, especially those overhead and those containing heavy or fragile items. This is a quick and easy project that can be done in an afternoon.
4. Secure Your Water Heater
An unsecured water heater is one of the most significant fire and water damage risks in an earthquake. If it falls, it can sever gas and water lines, leading to a fire or major flooding. In many regions, strapping your water heater is required by code.
- What you need: A pre-approved water heater strapping kit from a hardware store.
- The process: These kits come with clear instructions. Typically, you’ll install two heavy-duty metal straps around the tank—one on the upper third and one on the lower third—and bolt them into the wall studs. If your water heater isn’t near a wall, you may need to install wood blocking first.
- Budget Tip: A complete kit costs between $20 and $40. This is one of the most cost-effective safety measures you can take.
How to Earthquake Proof Home Exteriors and Entryways
Once the inside is secure, turn your attention to the immediate exterior of your home. These steps are crucial for ensuring you can exit safely and that secondary disasters like fires are prevented.
Know Your Utilities
Gas leaks are a leading cause of fires after earthquakes. You and every responsible member of your household should know how and when to shut off the gas.
- Locate the Shut-off Valve: Find your main gas meter. The shut-off valve is usually on the pipe leading into the meter.
- Get the Right Tool: You’ll need a non-adjustable wrench (a crescent wrench works). Keep it securely fastened next to the meter so it’s there when you need it.
- Learn the Method: To turn the gas off, give the valve a quarter turn so it’s perpendicular to the pipe. Important: Only turn the gas off if you smell gas, hear a hissing sound, or see the meter spinning wildly. Once it’s off, you must have a professional from the utility company turn it back on.
Consider installing an automatic seismic gas shut-off valve. While a bigger investment (a few hundred dollars), it automatically closes the gas line when it detects strong shaking.
Keep Exits Clear
Ensure that nothing heavy is stored on shelves or hooks above or near doorways. Your entry and exit paths must remain clear. In your yard, assess any large trees or structures that could fall and block your way out.
Bigger Impact, Smaller Budget: Prioritizing Structural Fixes
While a full seismic retrofit can be expensive, understanding your home’s potential weak points is a crucial first step that costs nothing. Certain types of homes are more vulnerable, and identifying these issues allows you to plan and budget for future improvements.
Identify Your Home’s Vulnerabilities
Here are the most common structural issues to look for, particularly in older homes (typically built before 1980):
- Unbolted Foundation: This is when the wooden frame of the house is not bolted to its concrete foundation. During an earthquake, the house can slide off, causing catastrophic damage. You can often see the foundation bolts (or lack thereof) in your crawlspace or basement.
- Cripple Walls: These are short wooden walls between the foundation and the first floor in some houses. If these walls are not braced with plywood sheathing, they can collapse during shaking (a common cause of home failure in earthquakes).
- Unreinforced Chimneys: Brick or masonry chimneys can easily break and fall during an earthquake, potentially crashing through your roof. Look for metal straps securing the chimney to the roofline.
What You Can Do on a Budget
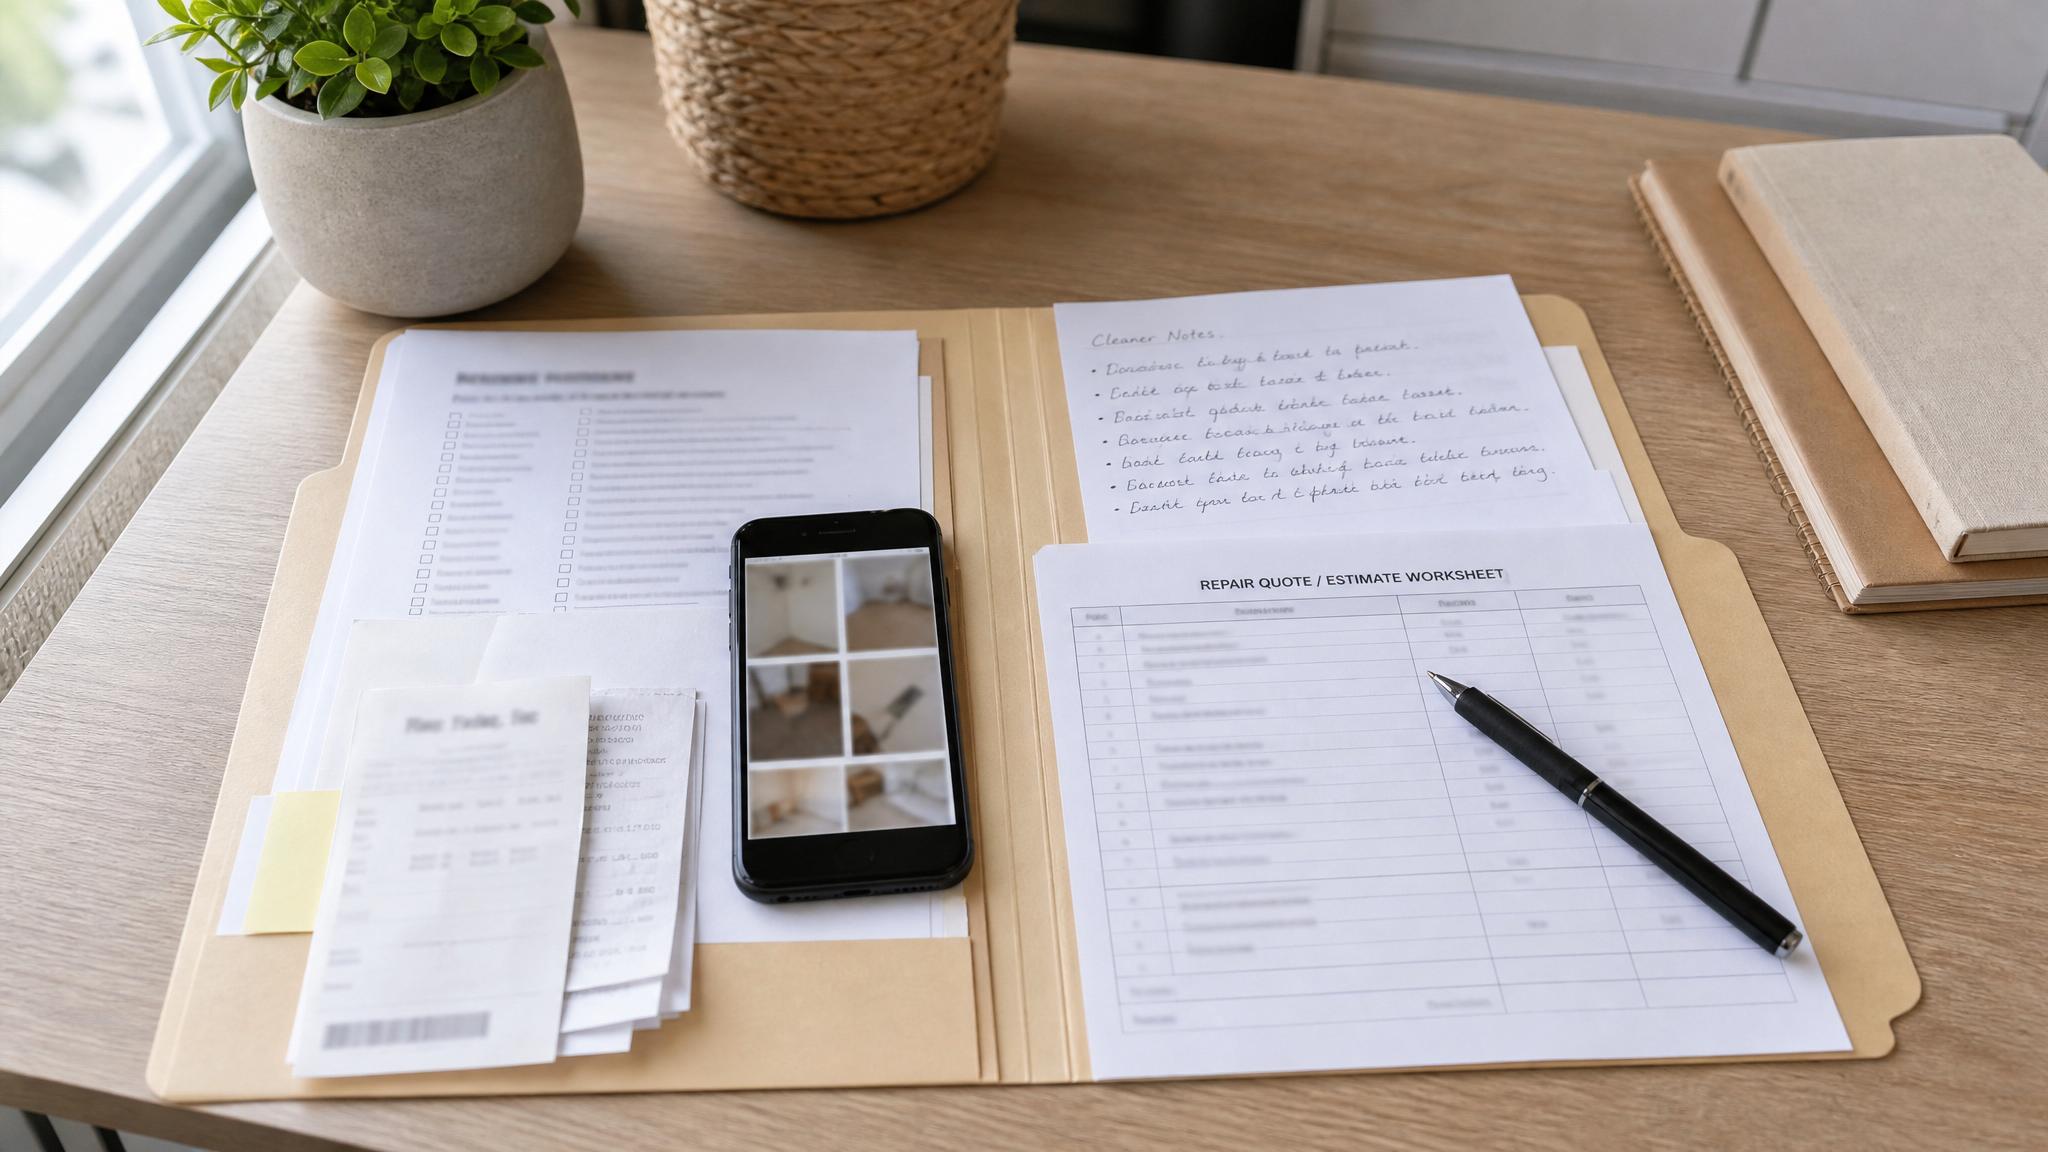
Your first, most affordable step is an assessment. Some cities and states offer free or low-cost home assessment programs. Alternatively, you can hire a structural engineer or a licensed retrofitting contractor for an evaluation. This will give you a clear, prioritized list of what needs to be done.
While foundation bolting and cripple wall bracing are often jobs for professionals, a handy homeowner might be able to tackle them. However, it requires specific knowledge of building codes and engineering principles. If you’re considering a DIY approach, consult your local building department for permit requirements and guidelines first. For most people, the best budget strategy is to save up and hire a licensed professional for these critical structural jobs.
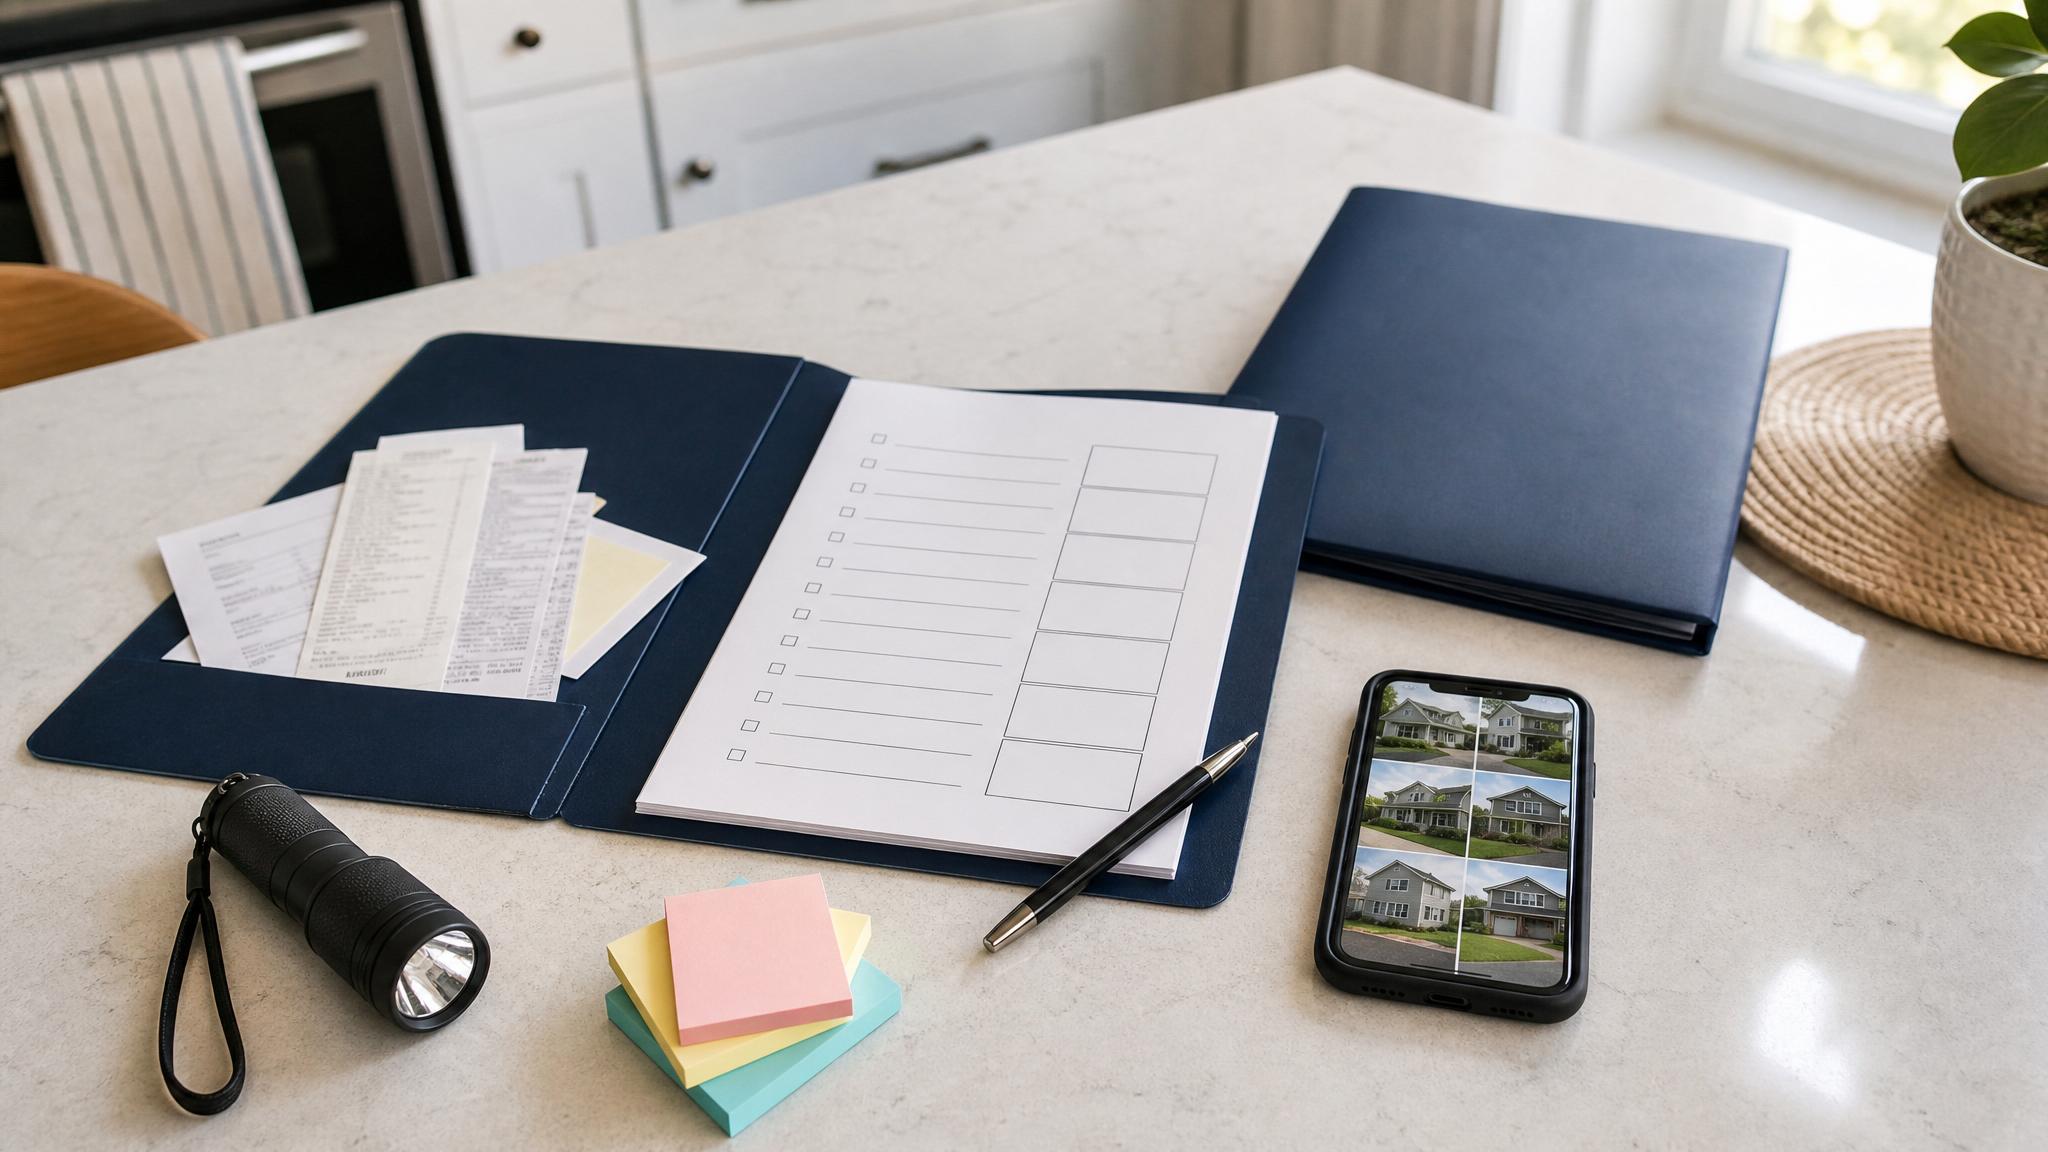
Your Step-by-Step Earthquake Retrofitting Checklist
Use this list to track your progress. Start with the easiest and cheapest tasks first to build momentum.
- [ ] Secure Tall Furniture: Use straps/brackets to anchor bookshelves, cabinets, etc., to wall studs.
- [ ] Secure Heavy Objects: Use museum putty for valuables and straps for TVs/microwaves.
- [ ] Install Cabinet Latches: Add latches to kitchen and bathroom cabinets.
- [ ] Strap Water Heater: Use a certified kit to secure your water heater to the wall.
- [ ] Secure Wall Hangings: Use closed-hook picture hangers for heavy frames and mirrors.
- [ ] Locate Gas Shut-off: Identify the valve and store a wrench nearby.
- [ ] Create an Emergency Plan: Designate safe spots in each room (under a sturdy table) and a meeting point outside.
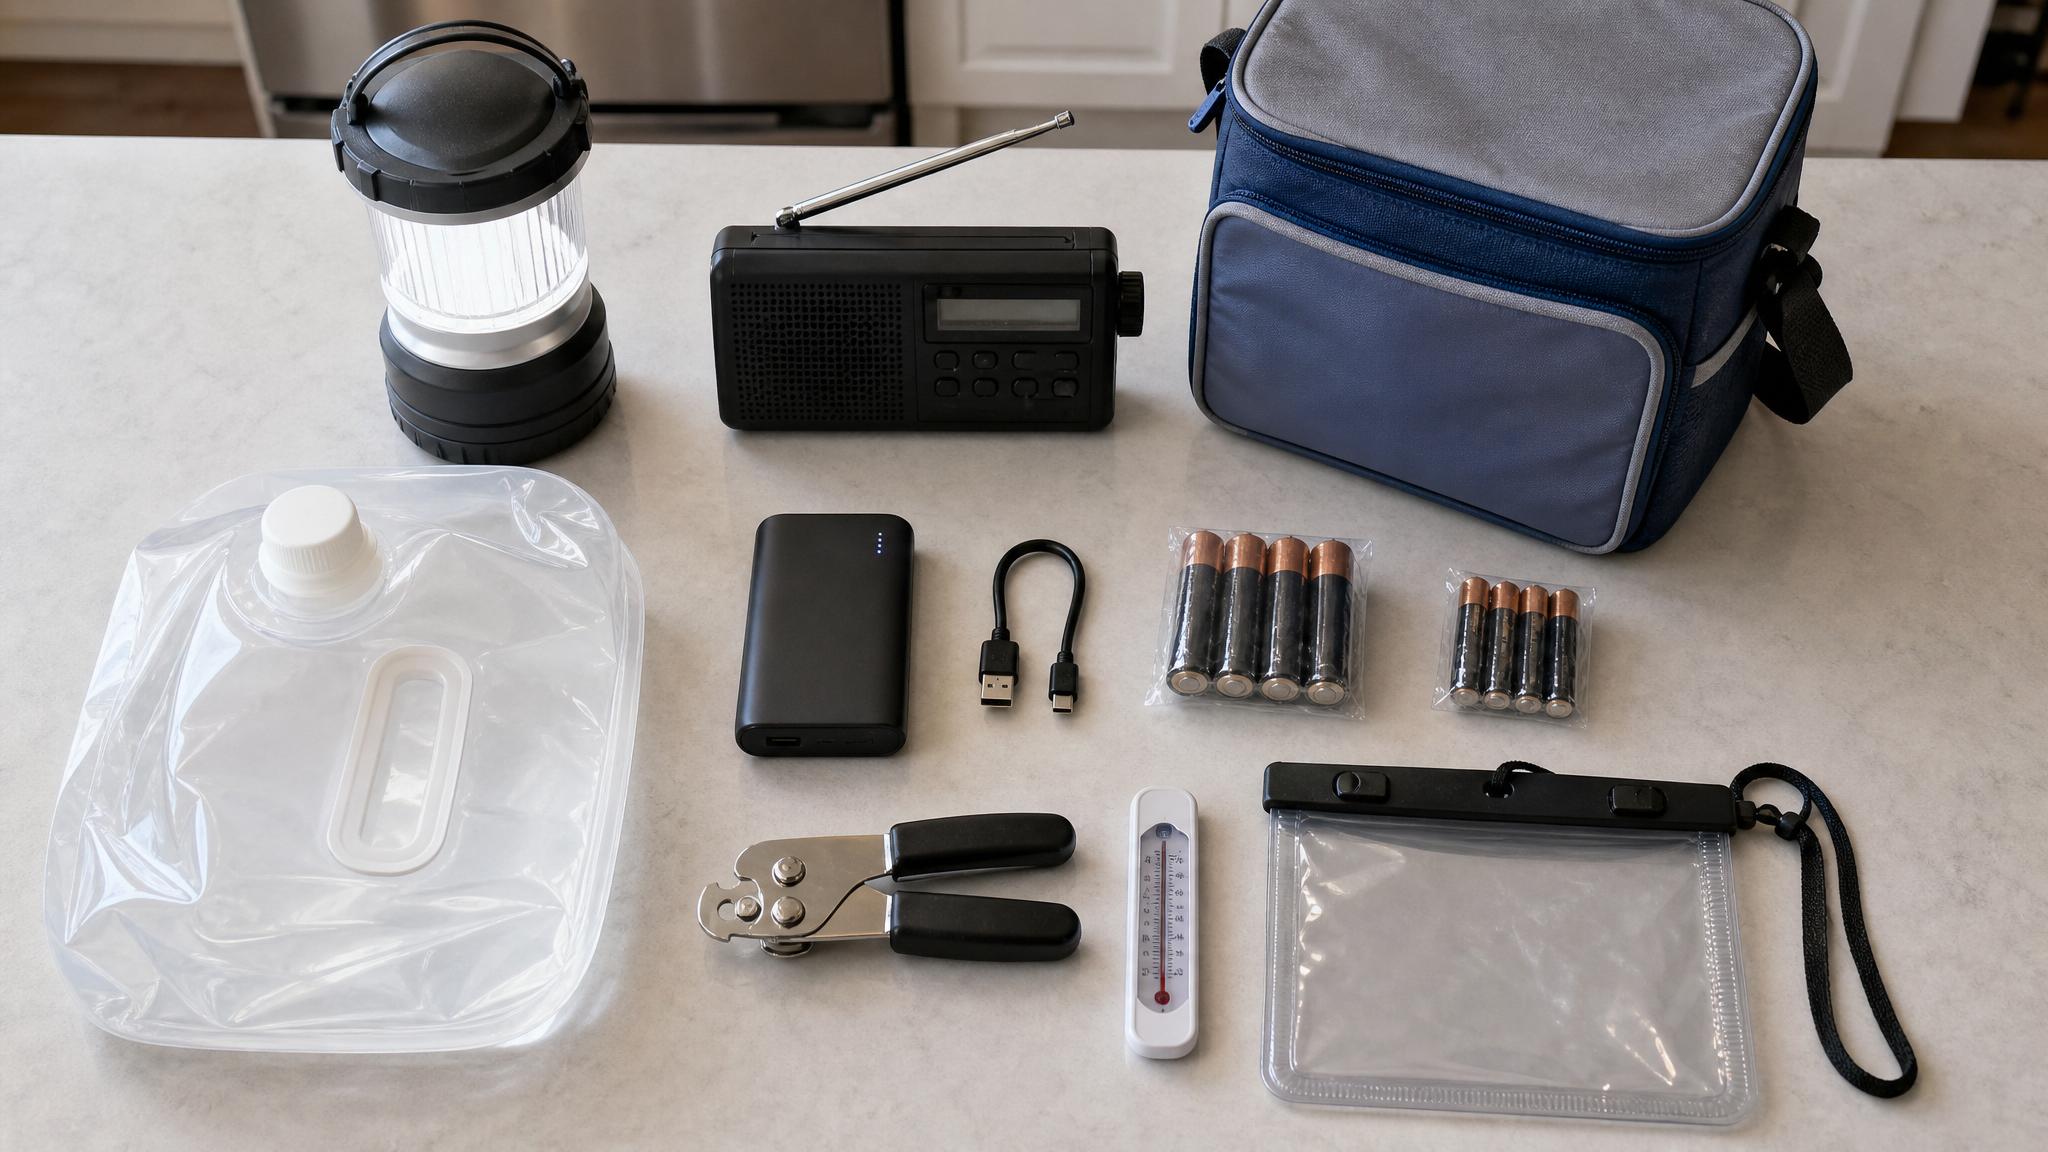
- [ ] Build an Emergency Kit: Stock up on water, food, first aid supplies, and other essentials.
- [ ] Assess Structural Risks: Check for an unbolted foundation, cripple walls, or an unbraced chimney.
- [ ] Plan for Professional Help: Get quotes for any necessary structural work and create a savings plan.
Knowing how to earthquake proof home is about taking methodical, intelligent steps to reduce risk. You don’t have to do everything at once. Every cabinet you latch and every bookshelf you secure makes your home a safer place to be when the ground starts to shake. Start today, and turn your anxiety into action.
Frequently Asked Questions about Home Earthquake Safety
How much does it cost to earthquake proof a house?
The cost varies dramatically. Non-structural securing (strapping furniture, water heaters, etc.) can be done for under $200 using DIY methods. A professional seismic retrofit for structural issues like foundation bolting and cripple wall bracing can range from $3,000 to $10,000 or more, depending on the size and condition of your home.
What is the most important thing to secure in your home for an earthquake?
While all steps are important, securing your water heater is arguably the single most critical action. A toppled water heater can cause devastating fire and water damage, which are often more destructive than the shaking itself. It’s a low-cost fix with a massive payoff in safety.
Can I really do DIY earthquake retrofitting?
You can absolutely handle the non-structural retrofitting yourself—securing furniture, objects, and cabinets is a perfect DIY project. When it comes to structural work like foundation bolting, it’s more complex. If you have advanced construction skills and check with your local building department about permits and codes, it might be possible. However, for most people, it’s best to hire a licensed and insured contractor for structural work to ensure it’s done correctly.
Does earthquake insurance cover the contents of my home?
It depends on your policy. Standard homeowners insurance does NOT cover earthquake damage. You must purchase a separate earthquake insurance policy. These policies have two main parts: dwelling coverage (for the structure) and personal property coverage (for your belongings). Be sure to read the policy carefully, as they often come with a high deductible (typically 10-20% of the coverage limit).