You do not need a perfect home inventory to make your renter’s insurance records more useful. A simple set of renter insurance claim photos can give you a clearer record of what you owned, where it was, and what condition it was in.
Start with the photos below. They are quick to take, easy to update, and helpful for building a basic proof-of-ownership folder.
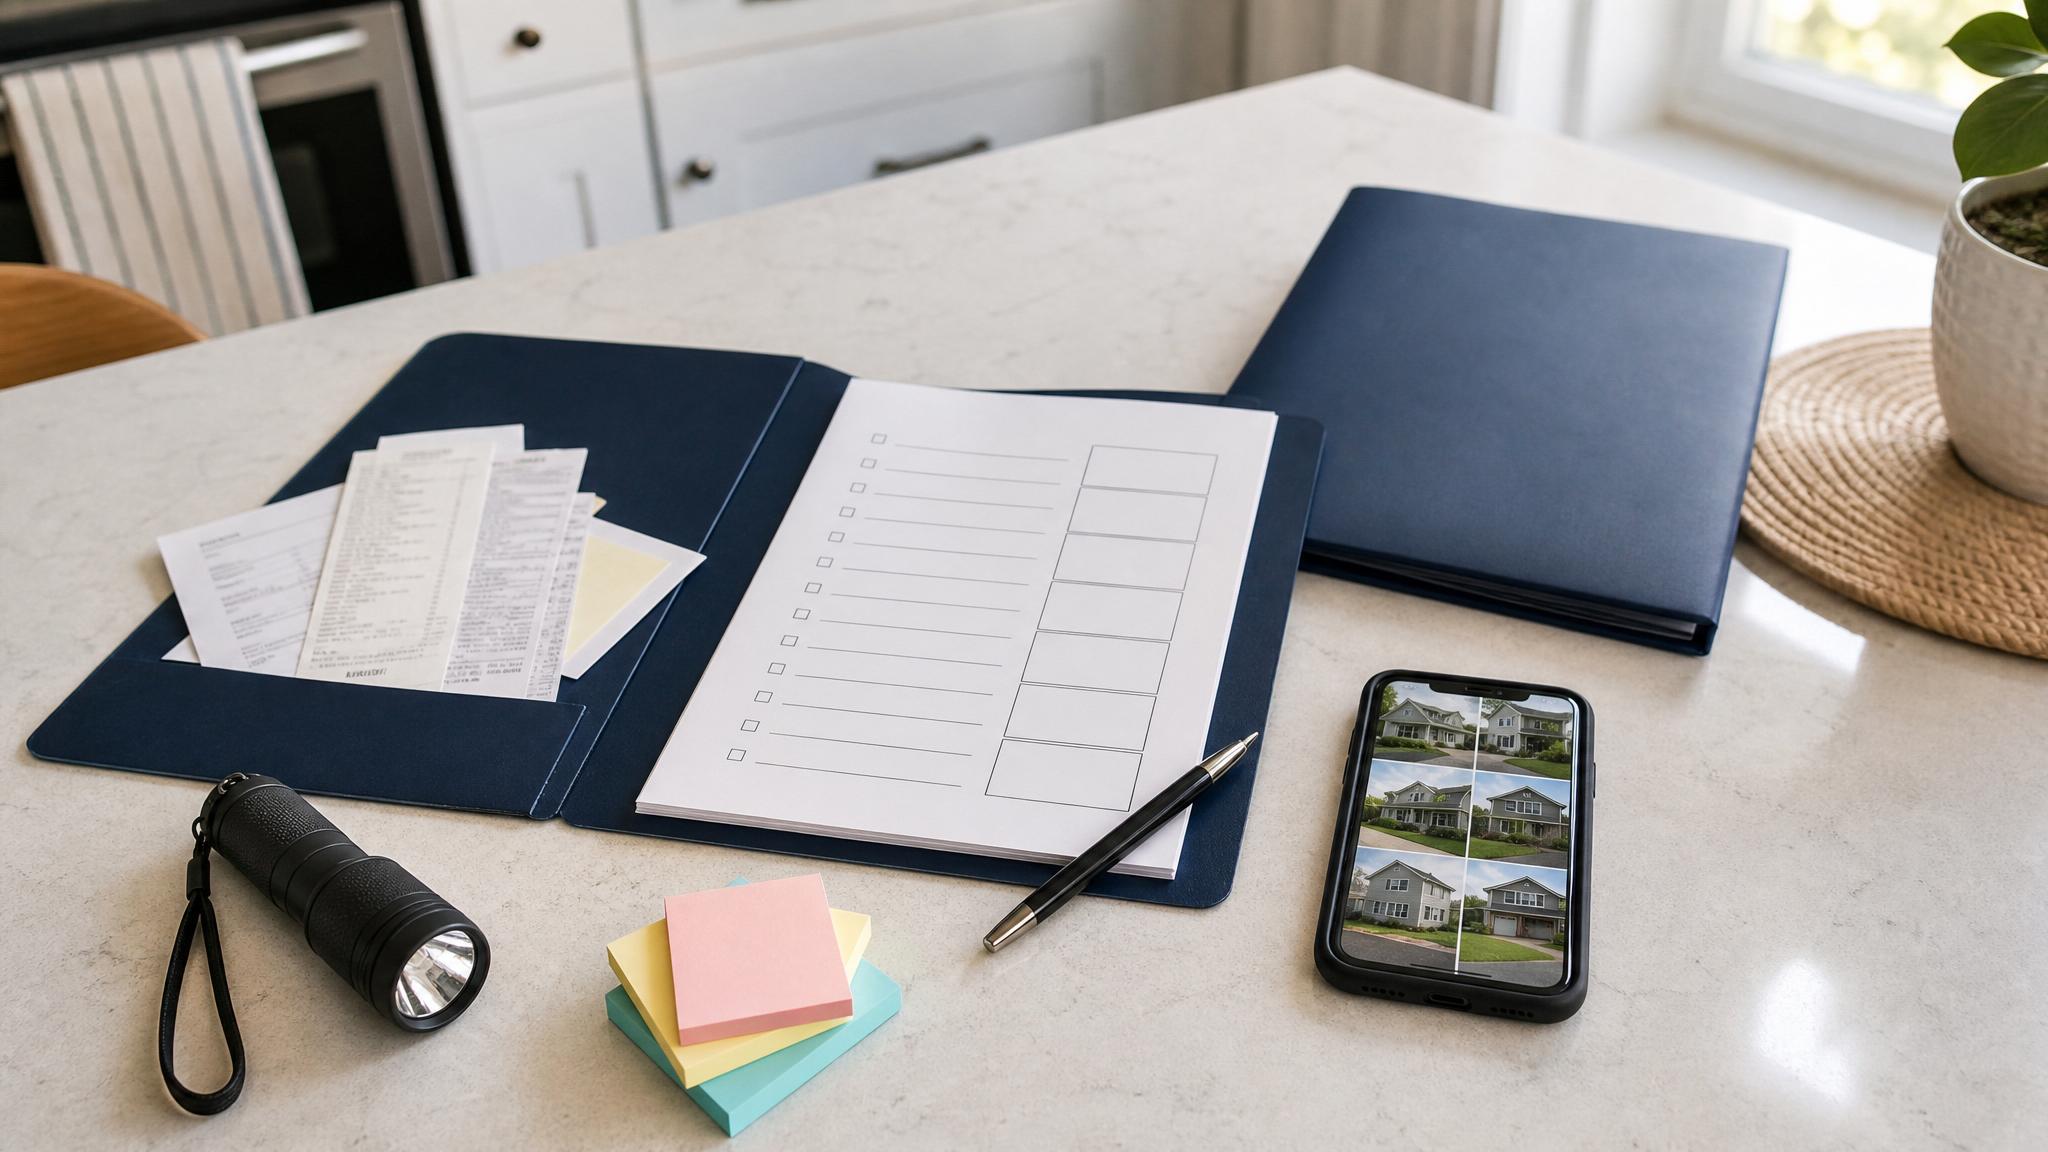
Before you start: make one proof folder
Before you take photos, create one folder for your apartment inventory. Use a simple name like:
Apartment Inventory - May 2026
Inside that folder, you can add subfolders for:
- Room photos
- Receipts
- Serial numbers
- Valuables
- Insurance documents
- Claim notes
You can use Google Drive, iCloud, Dropbox, OneDrive, or another cloud storage option you already trust.
This does not need to be complicated. The goal is to make your records easy to find if you ever need them.
1. Wide photos of every room
Start with one wide photo of each room in your apartment. Stand in the doorway or a corner and capture as much of the room as possible.
Take photos of:
- Living room
- Bedroom
- Kitchen
- Bathroom
- Office or desk area
- Laundry area
- Entryway
- Storage closet
- Balcony, if you store items there
Wide photos help show the general contents and layout of each room. They also give you a starting point when you add more detailed photos later.
2. Closet photos with doors open
Closets are easy to forget because most of the contents are hidden. Open each closet and take a clear photo of what is inside.
Include:
- Clothing closets
- Linen closets
- Coat closets
- Pantry shelves
- Utility closets
- Storage bins
You do not need to photograph every shirt one by one. A wide closet photo can still help document categories of belongings.
For higher-value clothing, shoes, bags, or gear, take separate close-up photos.
3. Electronics and devices
Electronics are often among the most expensive items in an apartment. Take photos of each major device by itself.
Include:
- Laptop
- Desktop computer
- Monitor
- Tablet
- Phone
- TV
- Gaming console
- Camera
- Speaker system
- Headphones
- Smartwatch
- Printer
Try to capture the brand and general condition. If the item has a case, accessory, or visible model name, include that too.
This is also a good time to add each device to your apartment inventory checklist or spreadsheet.
4. Serial numbers and model numbers
For electronics, small appliances, bikes, and other serialized items, take a close-up photo of the serial number or model number.
Look for labels on:
- The back of a TV or monitor
- The underside of a laptop
- Inside a camera battery door
- The back or bottom of a game console
- The frame of a bicycle
- Small kitchen appliances
- Power tools
Serial numbers can be awkward to photograph, but they are worth capturing. If the label is hard to read, write the serial number in your tracker too.
5. Furniture in each room
Take photos of your main furniture pieces. Focus on items that would cost real money to replace.
Include:
- Sofa
- Chairs
- Bed frame
- Mattress
- Dresser
- Desk
- Bookshelf
- Dining table
- Rugs
- Patio furniture
You do not need a showroom-style photo. Just capture the item clearly enough that you can identify it later.
If you know the brand, purchase date, or approximate price, add that to your tracker while it is fresh.
6. Kitchen appliances and cookware
Kitchen items add up quickly. Take photos of countertop appliances, cookware, and any higher-value kitchen tools.
Include:
- Coffee maker
- Air fryer
- Stand mixer
- Blender
- Microwave, if you own it
- Toaster oven
- Cookware sets
- Knife block
- Specialty tools
Open a cabinet or drawer if it shows a meaningful group of items, such as pans, baking tools, or small appliances.
For basic dishes and utensils, a simple cabinet photo may be enough for your personal records.
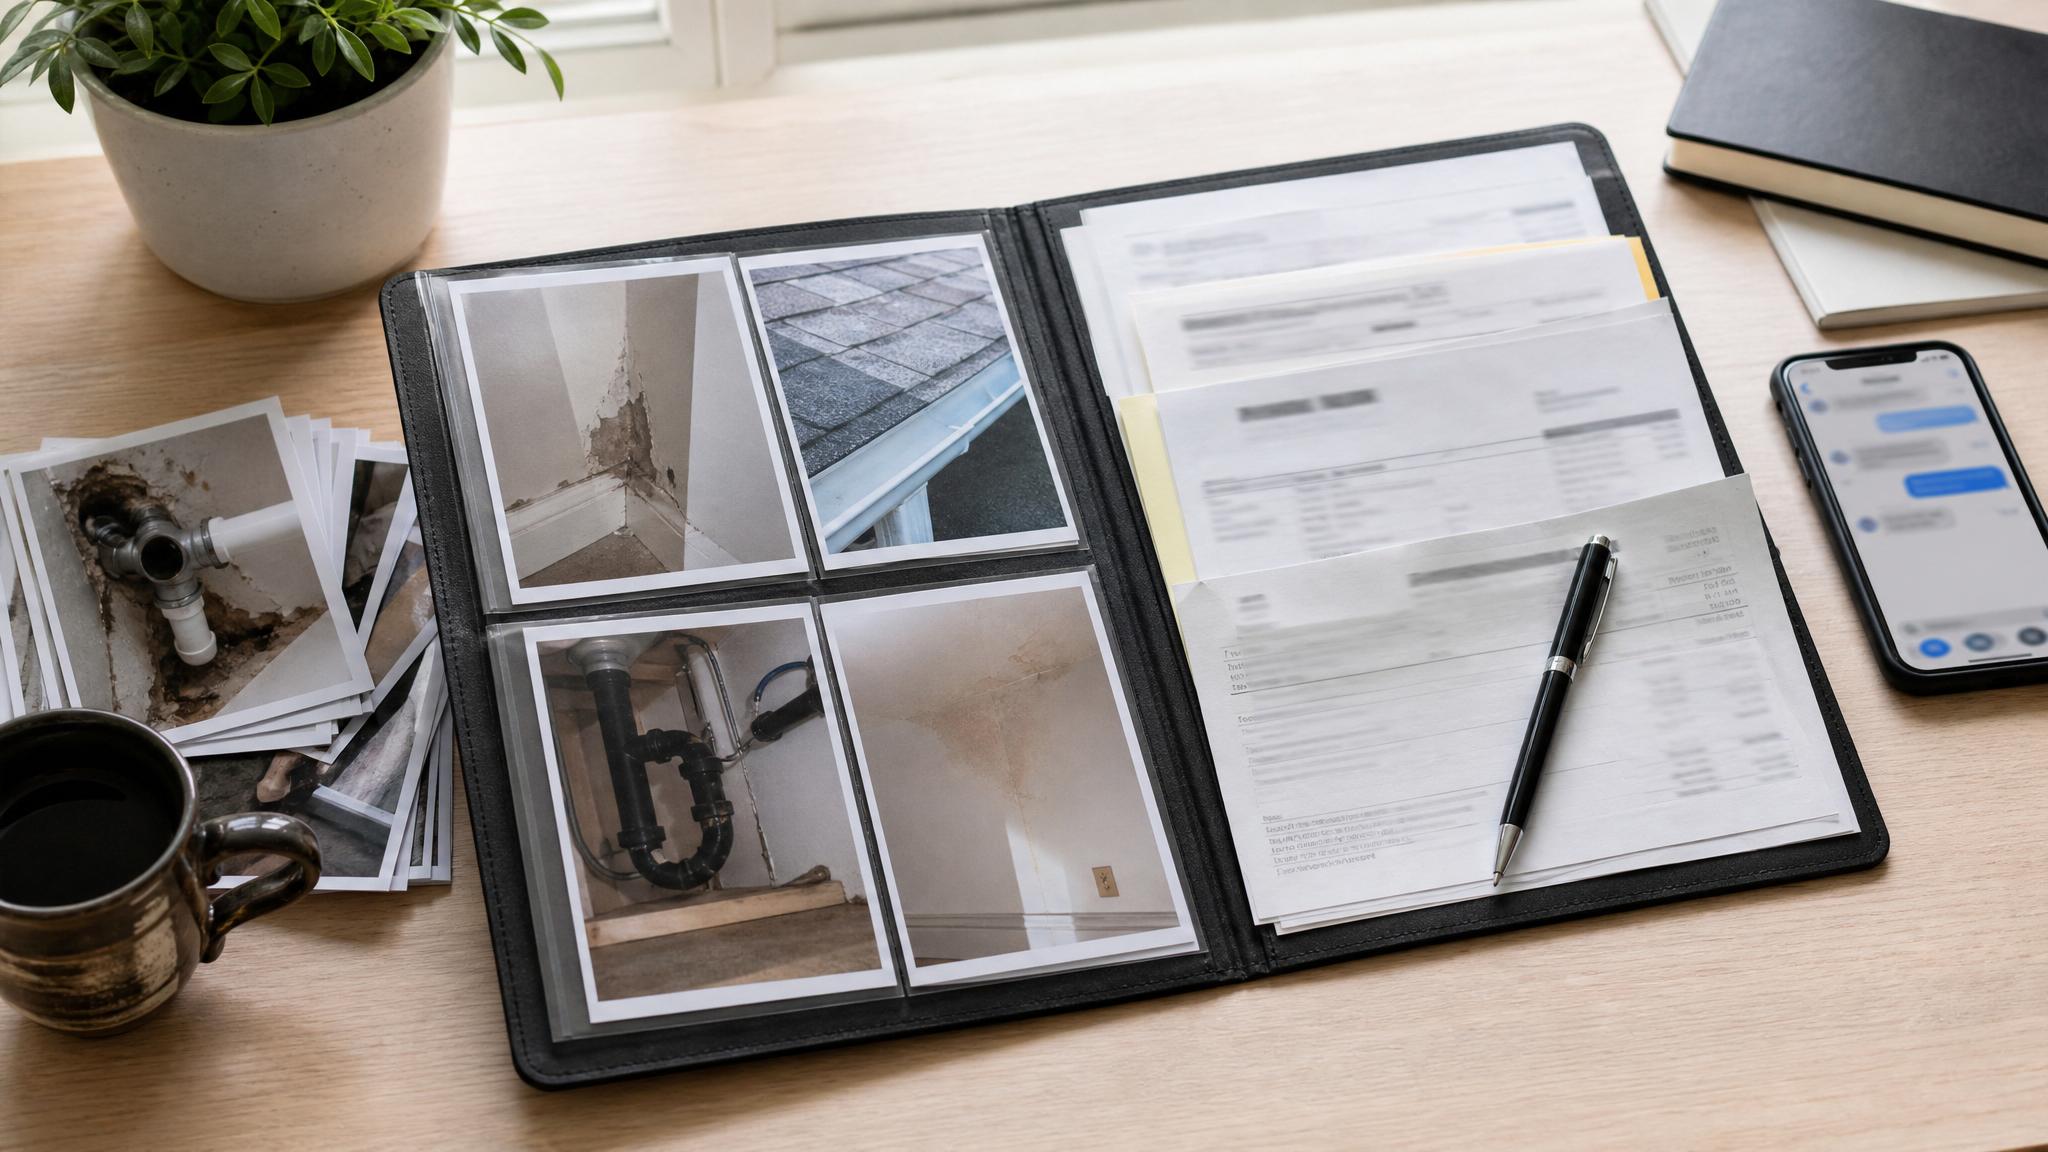
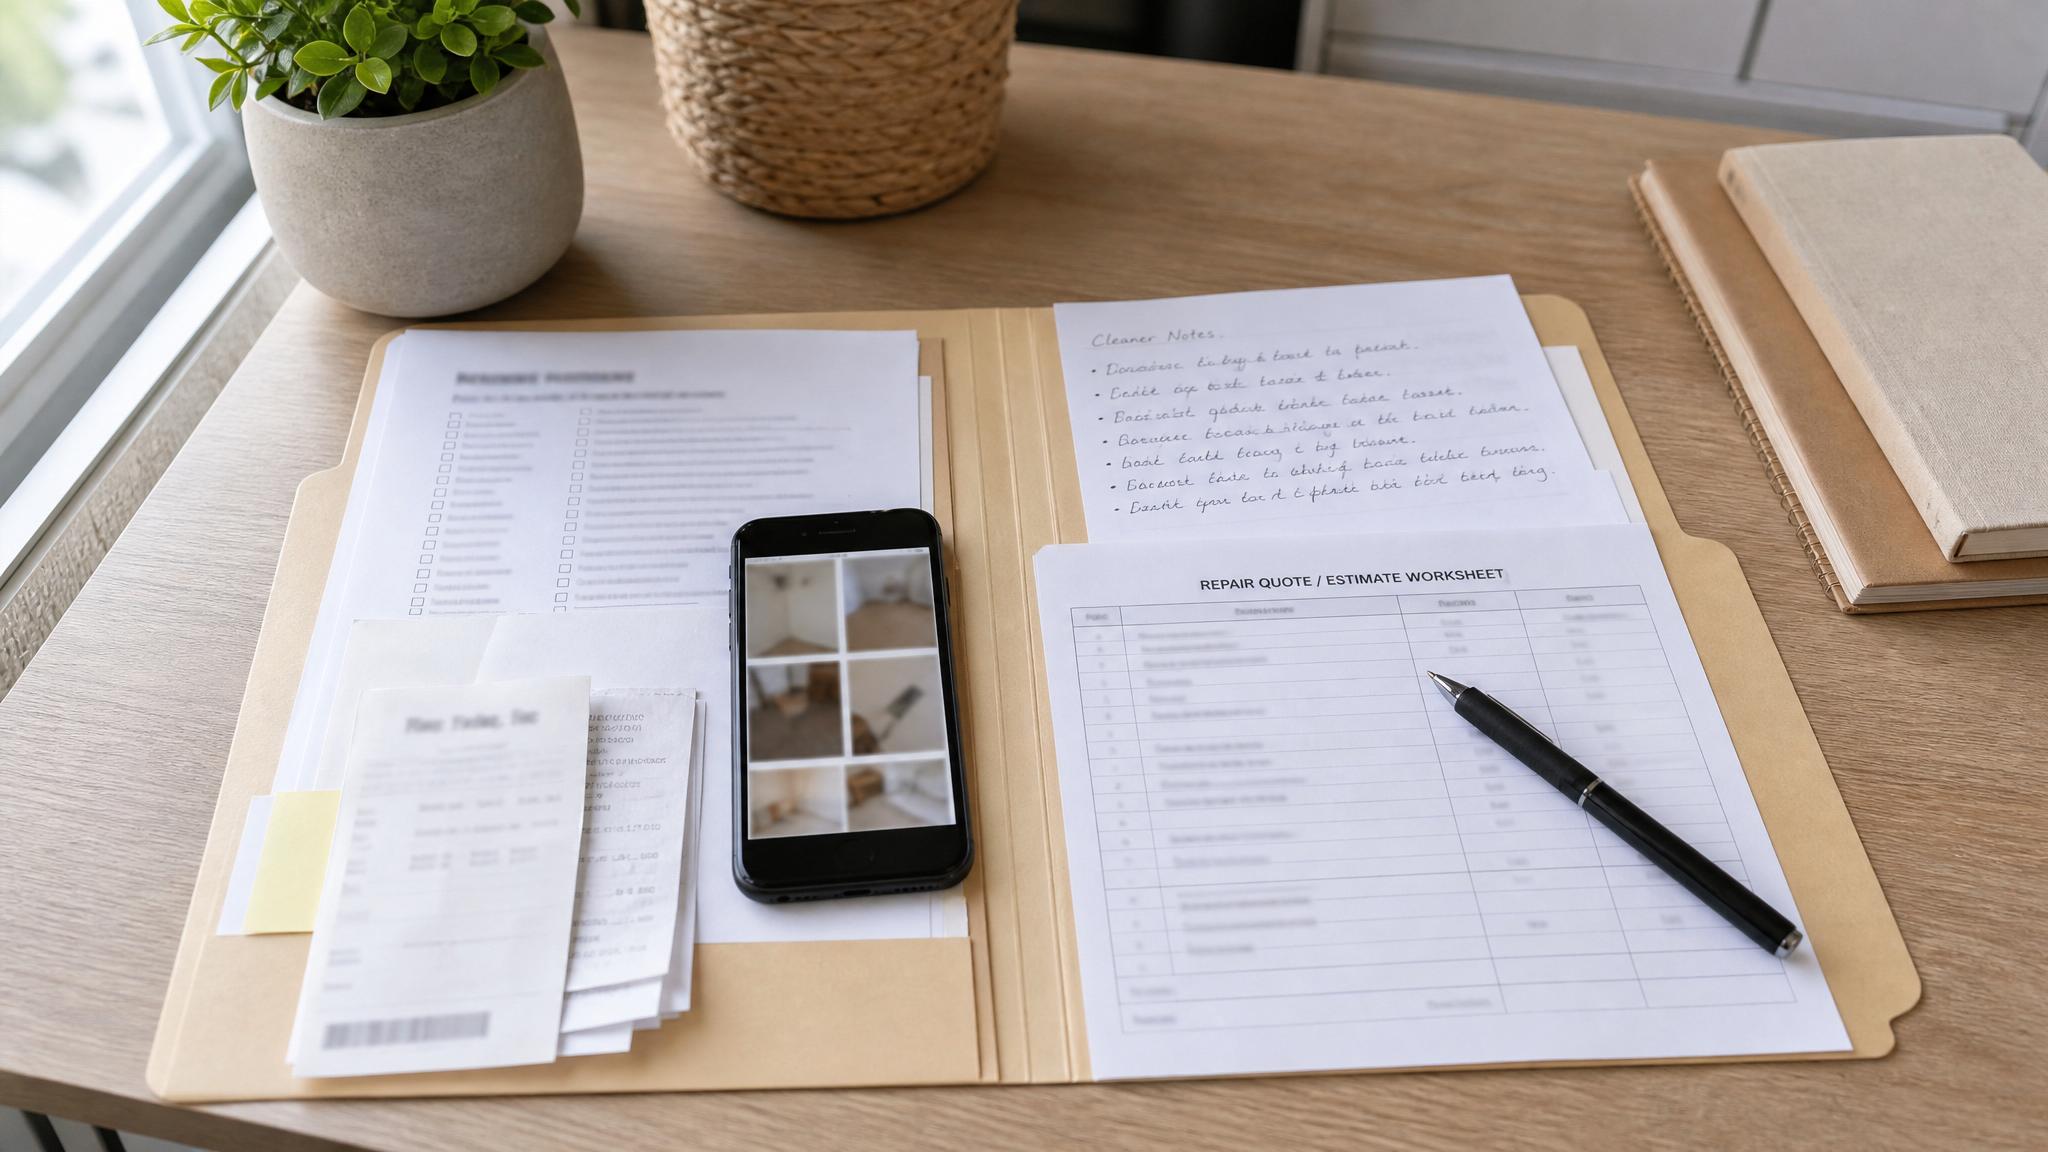
7. Receipts for larger purchases
Receipts help connect an item to a purchase date and price. Take photos or screenshots of receipts for larger purchases when you can.
Useful receipt records include:
- Electronics receipts
- Furniture receipts
- Appliance receipts
- Bike receipts
- Jewelry receipts
- Tool receipts
- Online order confirmations
- Warranty emails
Save receipt images in a receipt folder. Use file names that are easy to understand, such as:
TV-receipt-2025-Best-Buy.png
If you do not have receipts for everything, do not let that stop you. Start with what you have and keep improving the folder over time.
8. Jewelry, watches, and small valuables
Small valuable items are easy to lose track of. Take clear close-up photos and store any receipts, appraisals, or notes with them.
This may include:
- Jewelry
- Watches
- Collectibles
- Heirlooms
- Musical instruments
- Designer bags
- Specialty hobby equipment
Place small items on a plain surface with good lighting. If you have documentation, photograph that separately and save it in the same folder.
Important note: Some high-value items may need extra coverage or separate documentation. Confirm requirements with your insurance provider.
9. Bikes, scooters, and outdoor gear
If you keep bikes, scooters, sports gear, or camping gear in your apartment, storage room, balcony, or garage area, document those too.
Take photos of:
- Full bike or scooter
- Brand and model details
- Serial number
- Lock or accessories
- Helmets or specialty gear
- Storage location
Bikes are especially worth documenting because they often have serial numbers and visible identifying details.
10. Work-from-home equipment
If you work from home, take a few photos of your desk setup and work equipment.
Include:
- Desk
- Chair
- Monitor
- Keyboard and mouse
- Laptop stand
- Docking station
- Webcam
- Microphone
- External hard drive
- Office equipment you own personally
If your employer owns some of the equipment, note that separately. Your personal inventory should make clear what belongs to you.
11. Important documents and insurance records
You do not need to photograph private documents in a way that exposes sensitive information. But you should know where your important records are stored.
For your proof folder, consider saving secure copies of:
- Renter’s insurance policy declarations page
- Policy number and insurer contact information
- Lease or rental agreement
- Receipts for major purchases
- Appraisals or warranties
- Emergency contact list
Be careful with sensitive information. Use secure storage and avoid sharing access broadly.
12. A short video walkthrough
After you take still photos, record a short video walkthrough of your apartment. Move slowly from room to room and describe what you are showing.
You can say simple things like:
- “This is the living room, including the sofa, TV, rug, bookshelf, and coffee table.”
- “This closet has coats, shoes, storage bins, and a vacuum.”
- “This desk area includes my monitor, chair, laptop stand, and printer.”
Open closets, cabinets, and drawers where it makes sense. Keep the video practical and clear.
A walkthrough can fill gaps between individual photos and help you remember what was in each space.
How often should you update these photos?
Update your apartment inventory photos at least once a year. You should also update them when you:
- Move into a new apartment
- Buy a major item
- Replace electronics or furniture
- Renew or change renter’s insurance
- Add valuable hobby gear or work equipment
- Declutter or remove a large number of belongings
A yearly update can be simple. Retake wide room photos, add new receipts, and update your tracker for major changes.
What to do after the photos are taken
Photos are useful, but they work better with a simple written record. After you take the photos, add your most important items to a tracker.
For each item, record:
- Item name
- Brand or model
- Serial number, if available
- Purchase date
- Purchase price or estimate
- Receipt location
- Photo file name
- Notes
You can do this in a spreadsheet, printable worksheet, or home inventory app. Use whatever you will actually maintain.
If you want a ready-made version, the Renter’s Insurance Proof Kit includes room-by-room worksheets, a photo checklist, a receipt tracker, claim notes, and a spreadsheet inventory tracker.
Simple file naming system
Use short, clear file names so the photos make sense later.
Examples:
living-room-wide-may-2026.jpgtv-serial-number-may-2026.jpglaptop-receipt-2024.jpgbedroom-closet-wide-may-2026.jpgbike-serial-number-may-2026.jpg
You do not need to rename every single file right away. Start with the most important items and keep the system simple.
Frequently asked questions
Do renters need a home inventory?
A home inventory is useful for renters because renter’s insurance usually covers personal belongings, not the building itself. A simple inventory can help you remember what you owned and organize supporting details like photos, receipts, and serial numbers.
Do I need receipts for every item?
No. Receipts are helpful, especially for expensive items, but most people will not have receipts for everything. Photos, videos, bank or card statements, warranties, manuals, and serial numbers may also help support your records. Ask your insurance provider what they prefer.
Should I photograph every single thing I own?
No. Start with wide room photos, closets, electronics, furniture, valuables, receipts, and serial numbers. You can add more detail over time. A useful first pass is better than waiting until you can make a perfect inventory.
Where should I store renter insurance claim photos?
Store them in a secure cloud folder or another backed-up location outside your apartment. Do not keep your only copy on one phone, laptop, or hard drive.
Can a photo guarantee my claim is approved?
No. Photos are documentation tools, not a guarantee. Coverage, deductibles, exclusions, and claim decisions depend on your policy and your insurance provider’s process.
Final step: make it easy to find later
The best renter insurance claim photos are the ones you can actually find. Create one folder, take the 12 photo types above, and add your biggest items to a simple tracker.
You can improve the folder over time. Start with your most expensive items first, then update it whenever you move, renew insurance, or buy something important.
If you want the worksheets already laid out, use the Renter’s Insurance Proof Kit to build a room-by-room proof folder in about 60 minutes.
Required product disclaimer if CTA is used
This kit is for organization and documentation purposes only. It is not legal, financial, or insurance advice. It does not guarantee claim approval or payment. Always confirm documentation requirements with your insurance provider.