Disclosure: Some of the links on this page are affiliate links. This means that, at no additional cost to you, I may earn a small commission if you click through and make a purchase. I only recommend products that I personally use or believe will be helpful in emergency preparedness.
Family Earthquake Emergency Plan: Your Step-by-Step Guide
When the ground suddenly lurches and the world around you begins to shake, panic is a natural reaction. But what if you could replace that fear with confidence? The key lies in preparation. Creating a comprehensive family earthquake emergency plan isn’t just a good idea for those in seismic zones—it’s an essential responsibility that ensures your loved ones know exactly what to do. This guide will walk you through, step-by-step, how to build a plan that covers communication, supplies, home safety, and practice, turning potential chaos into coordinated action.
Why You Can’t Afford to Wait: The Importance of a Plan
Earthquakes strike without warning, leaving little to no time to think. In the immediate aftermath, utilities like power, water, and phone service can be down for days, or even weeks. Roads may be impassable, and emergency services will be overwhelmed. In this scenario, your family is your first line of defense. A well-thought-out plan does more than just outline steps; it provides a roadmap to safety and reduces anxiety. It ensures that even if you’re separated, everyone in your family understands where to go, who to contact, and how to stay safe until you can reunite. This isn’t about fear-mongering; it’s about empowerment. A plan gives you control in an uncontrollable situation.
Step 1: Establish Your Family Communication Strategy
After a major quake, communication will be your biggest challenge. Local phone lines and cell networks will likely be jammed. Your communication plan is the bedrock of your family’s safety when you are apart. Here’s how to build it:
- Designate an Out-of-State Contact: It’s often easier to make long-distance calls than local ones after a disaster. Choose a relative or friend who lives in a different state to be your family’s central point of contact. Ensure everyone, including children, has this person’s name and number memorized or saved in their phone and written on an emergency card.
- Establish Meeting Places: You need multiple reunion spots. Plan for different scenarios:
- Neighborhood Meeting Spot: A place right outside your home in case of a sudden evacuation, like a specific tree or a neighbor’s mailbox across the street.
- Regional Meeting Spot: A location outside your immediate neighborhood in case you can’t return home. This could be a library, park, or a family friend’s house that is likely to be accessible.
- Create Emergency Contact Cards: Don’t rely on phone batteries. Create small, laminated cards for every family member to carry in their wallet, backpack, and car. These cards should include:
- Your out-of-state contact’s information.
- Your meeting place addresses.
- Important medical information (allergies, medications, blood type).
- Contact information for other family members.
- Know School and Work Policies: Understand the emergency procedures for your children’s school or daycare and for every adult’s workplace. Know who is authorized to pick up your children and what the protocol for release is.
- Text, Don’t Talk: Remind everyone that text messages often get through when phone calls won’t. A simple “I’m safe” text can make all the difference.
Step 2: Assemble Your “Stay” and “Go” Earthquake Kits
Your supplies are a critical part of your family earthquake emergency plan. You’ll need two types of kits: a larger one for sheltering at home and individual, portable “Go Bags” for evacuations.
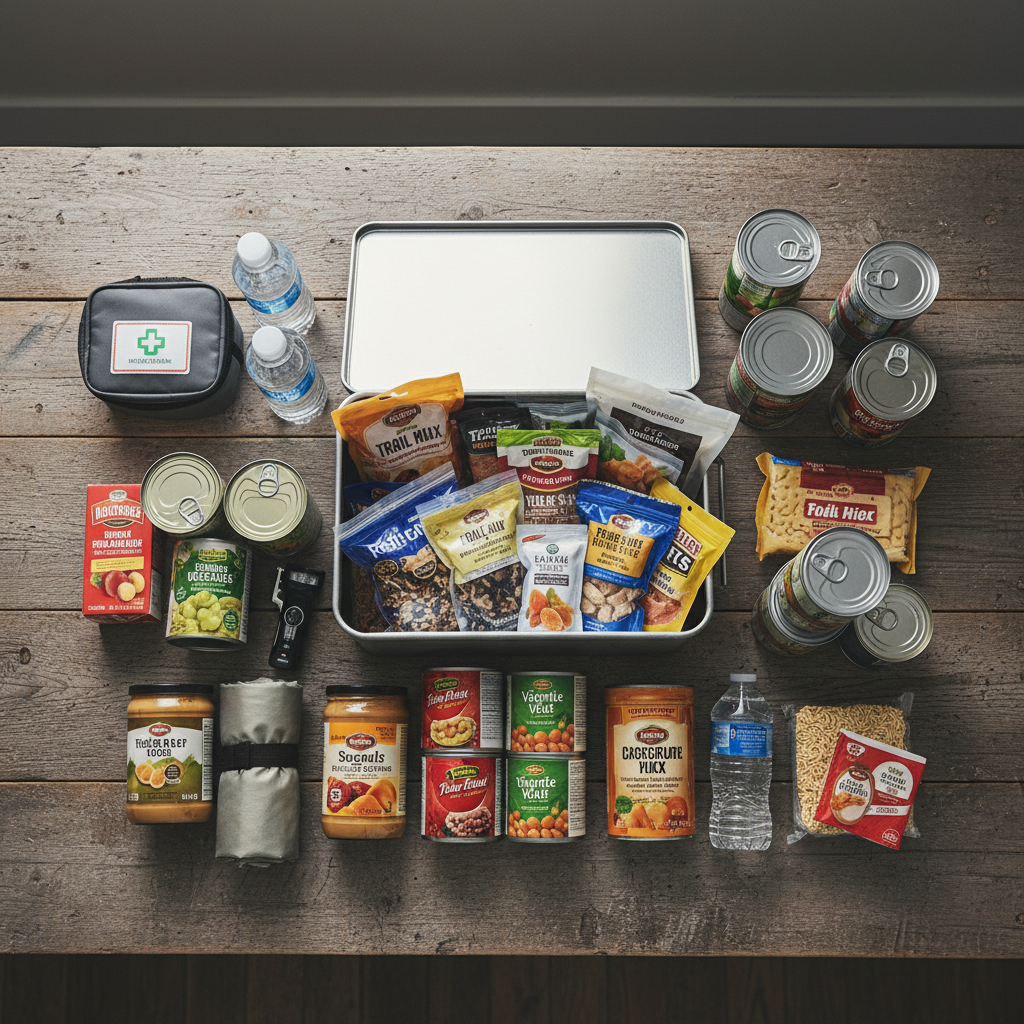
Your Home “Stay” Kit
This kit should contain enough supplies to last each person for a minimum of 72 hours, though FEMA and the Red Cross now recommend aiming for two weeks. Store it in a cool, dark place that’s easily accessible, like a garage or a large closet.
- Water: One gallon per person, per day.
- Food: Non-perishable, easy-to-prepare items (canned goods, protein bars, dried fruit). Don’t forget a manual can opener.
- First Aid Kit: A comprehensive kit with bandages, antiseptic wipes, pain relievers, gauze, and any personal prescription medications.
- Tools and Supplies: Wrench to turn off utilities, duct tape, fire extinguisher, work gloves, sturdy shoes for everyone.
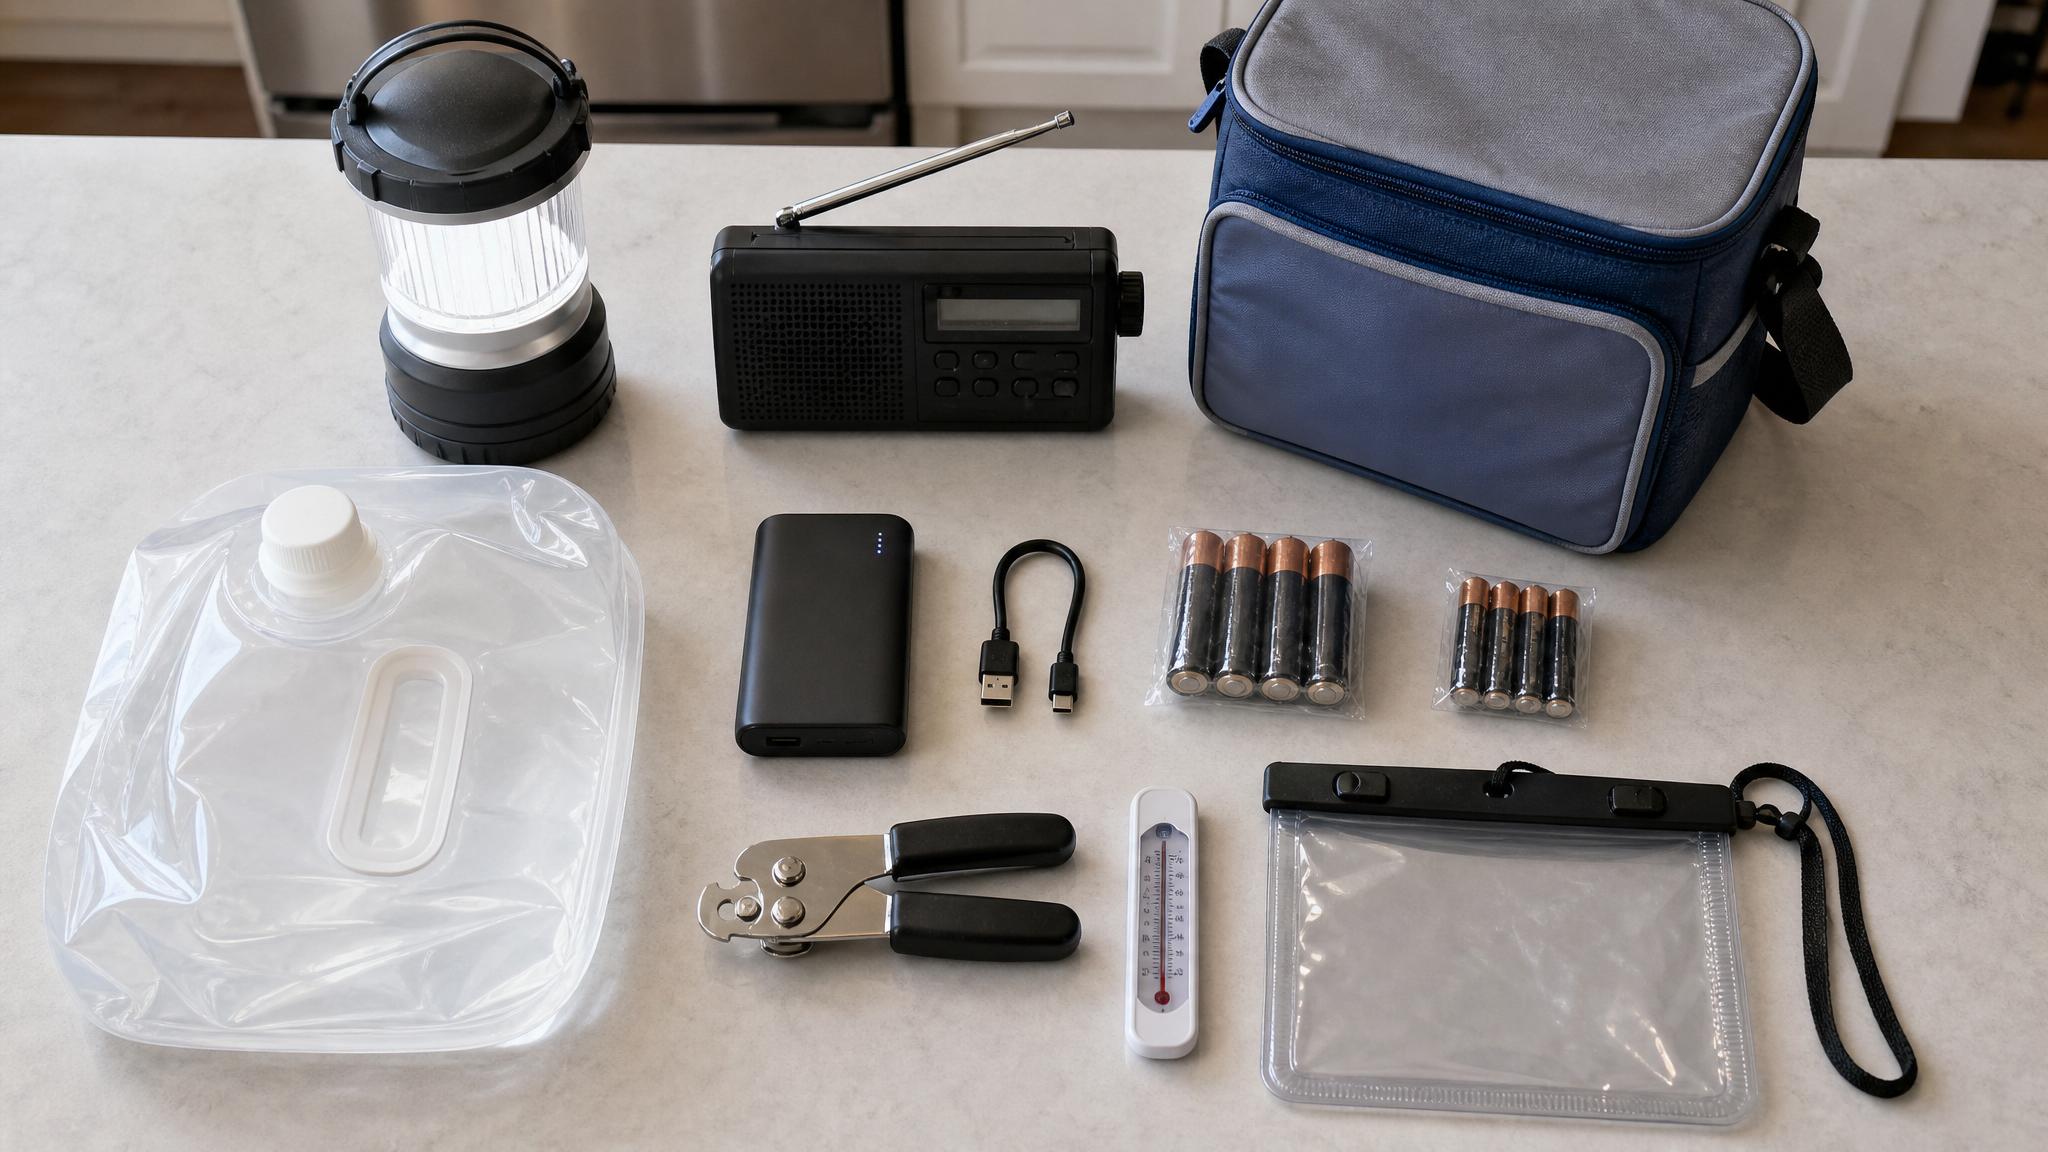
- Light and Communication: Flashlights, a hand-crank or battery-powered radio, and plenty of extra batteries.
- Sanitation: Moist towelettes, garbage bags, plastic ties, and a bucket with a lid for an emergency toilet.
Individual “Go Bags”
Each family member should have a personal backpack ready to grab in an instant. Keep one at home, one in your car, and one at work if possible.
- Water bottle and high-energy snacks.
- Small first aid kit.
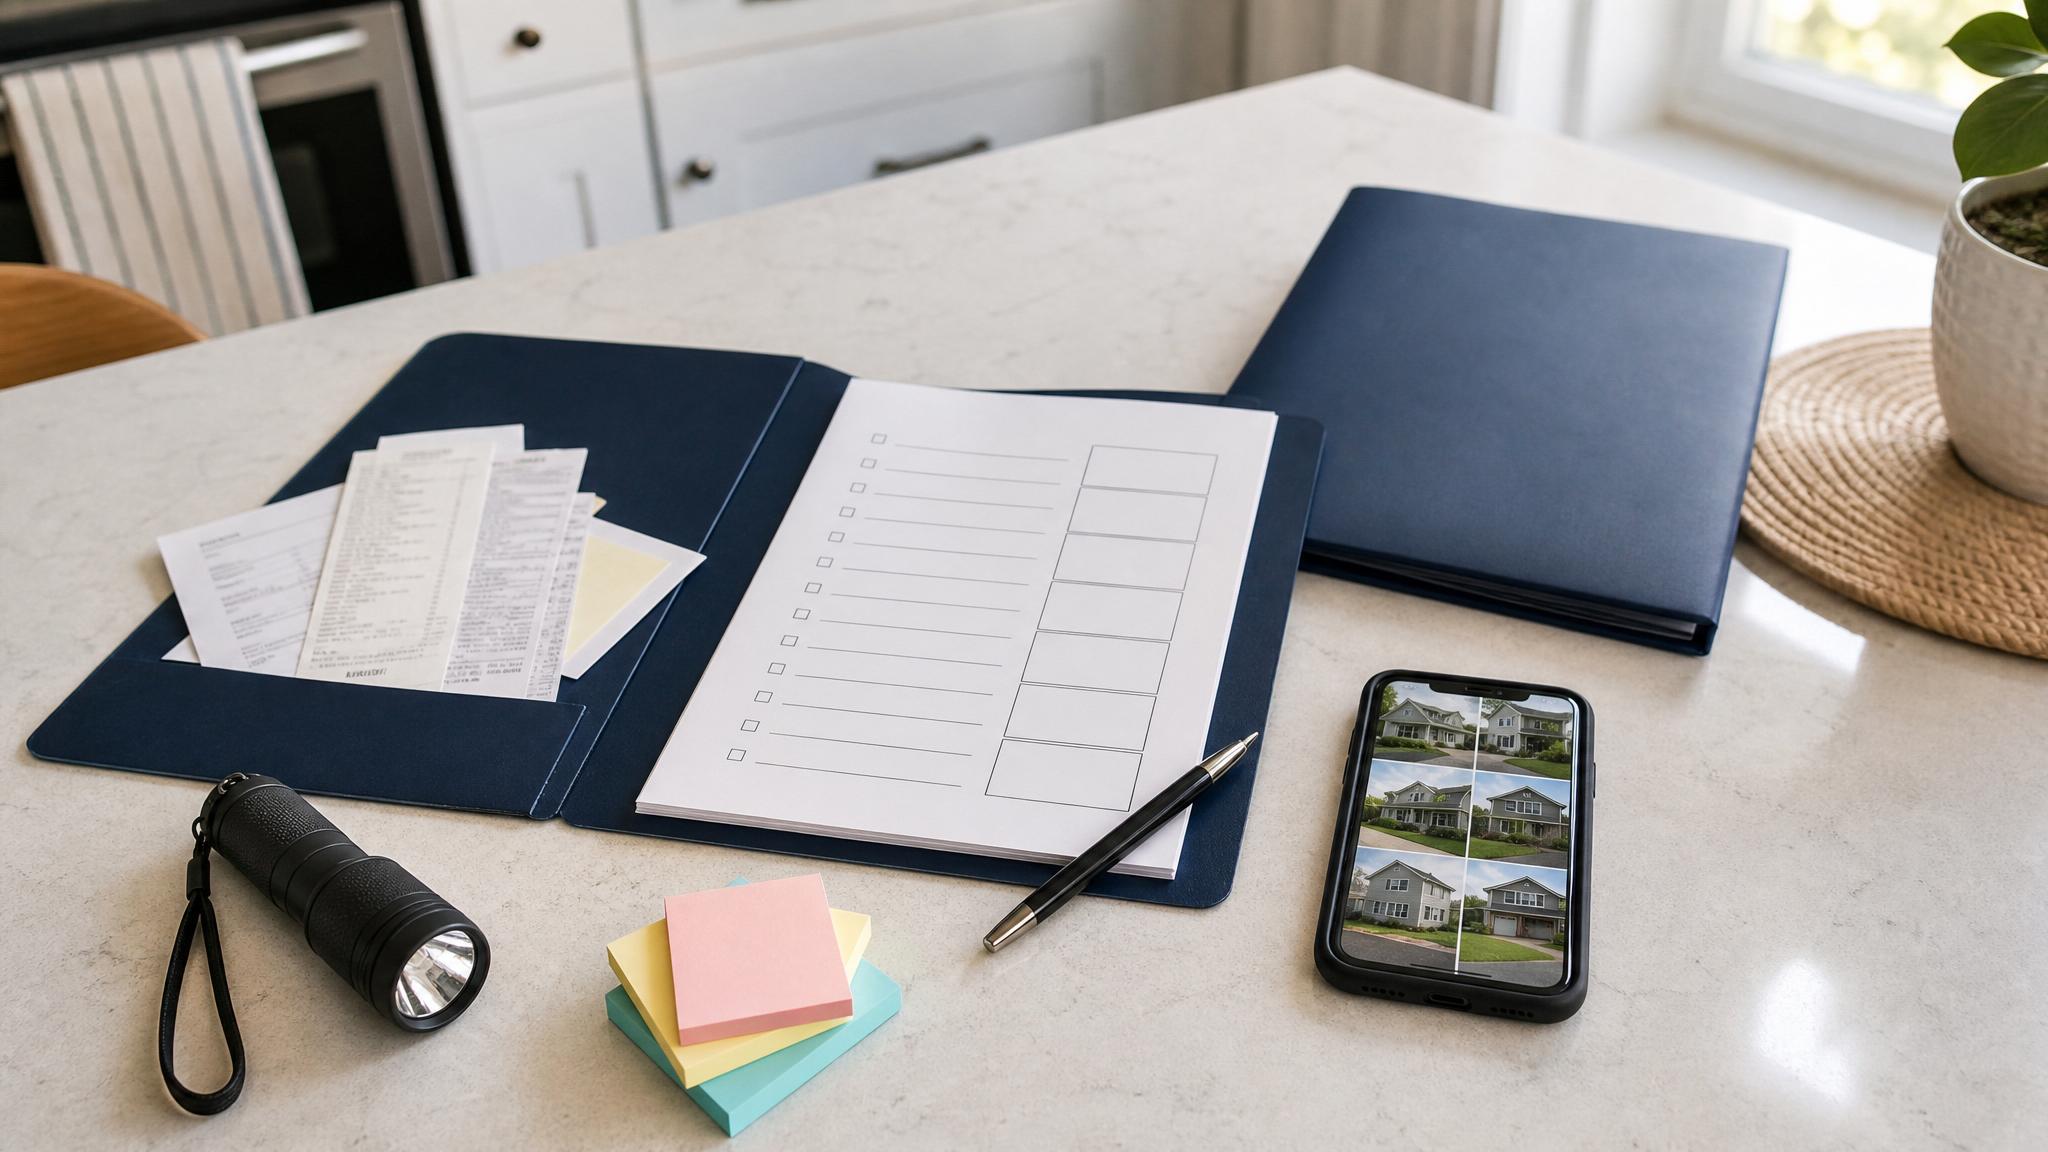
- Flashlight or headlamp.
- Dust mask to filter contaminated air.
- Whistle to signal for help.
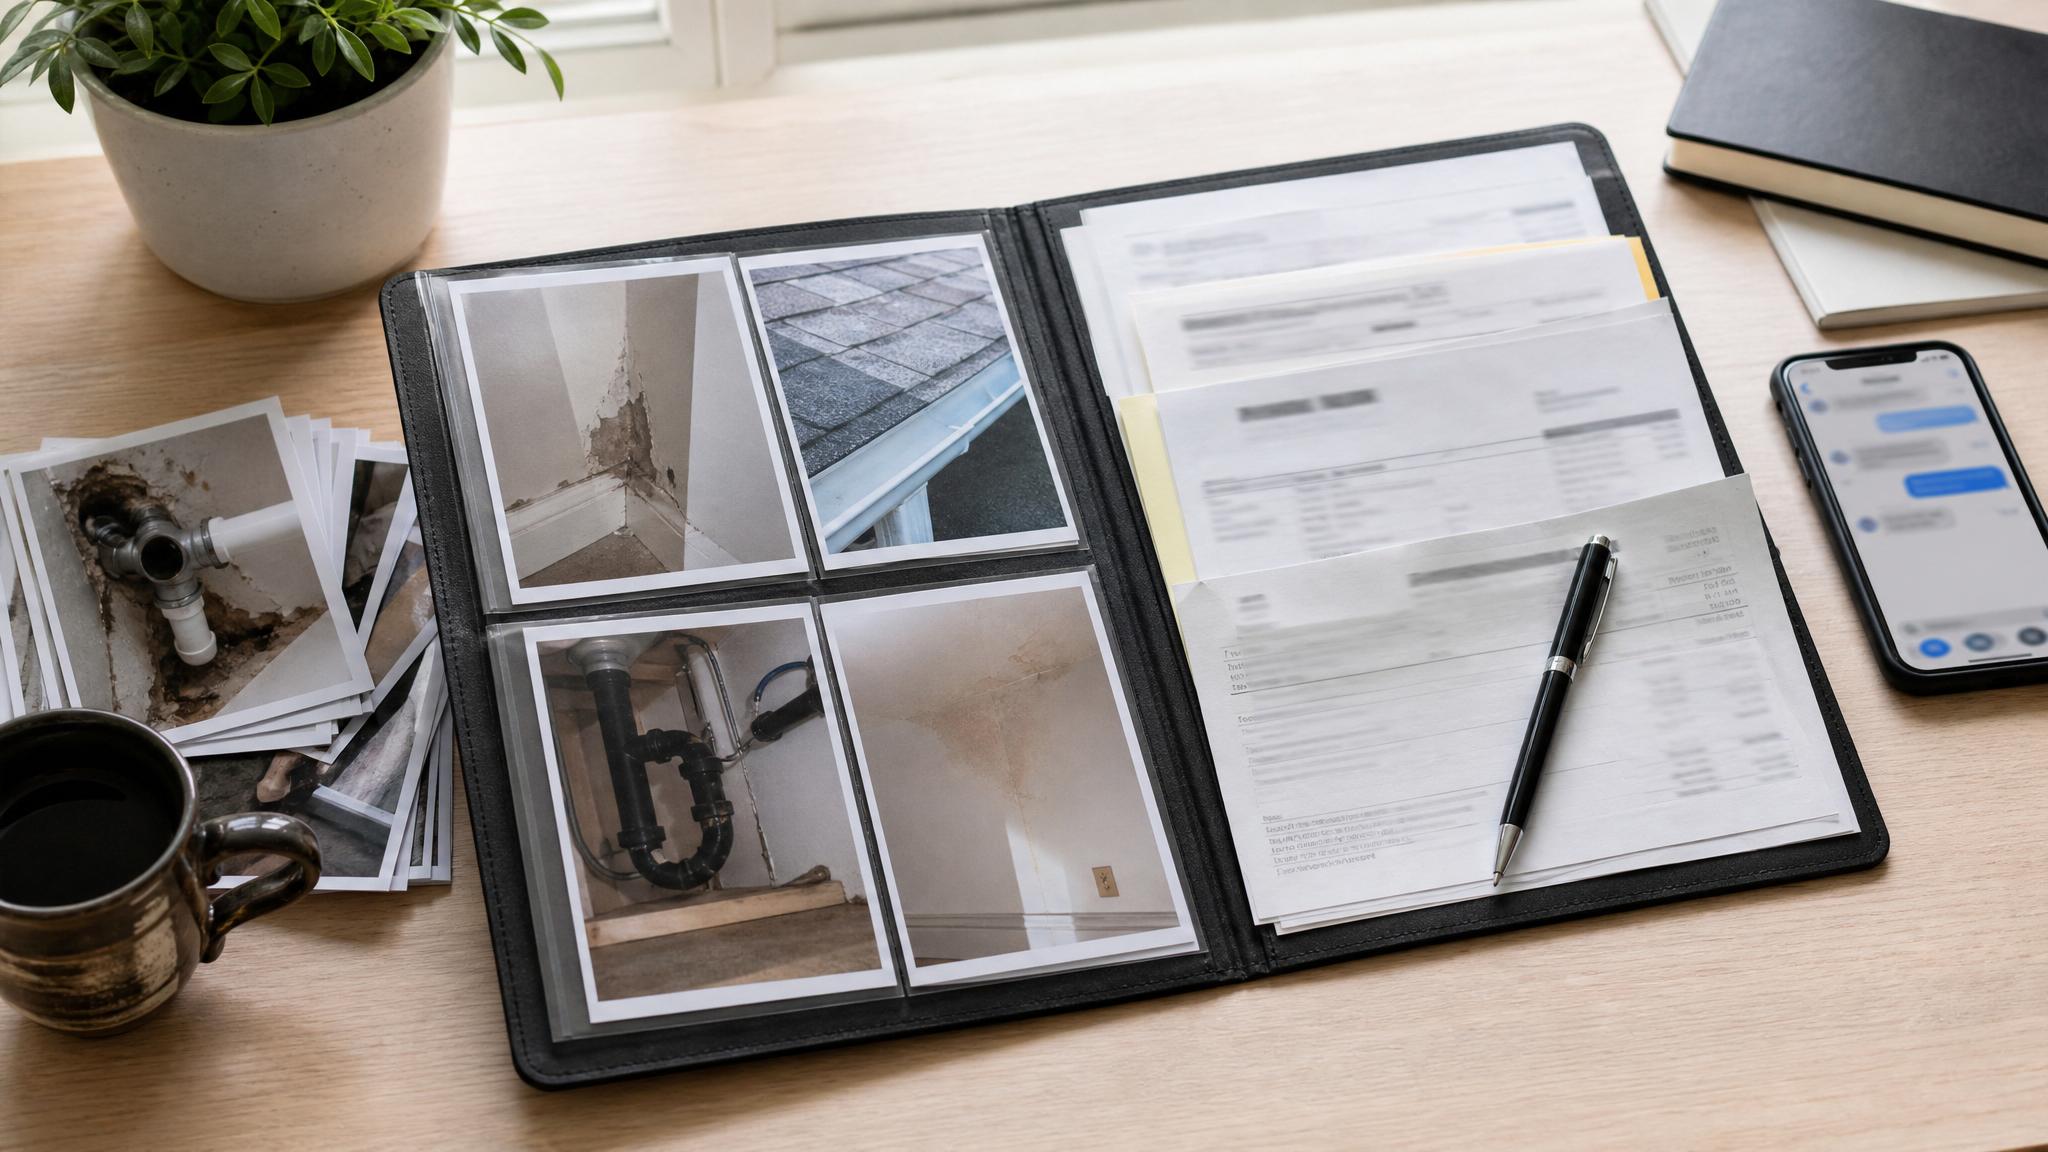
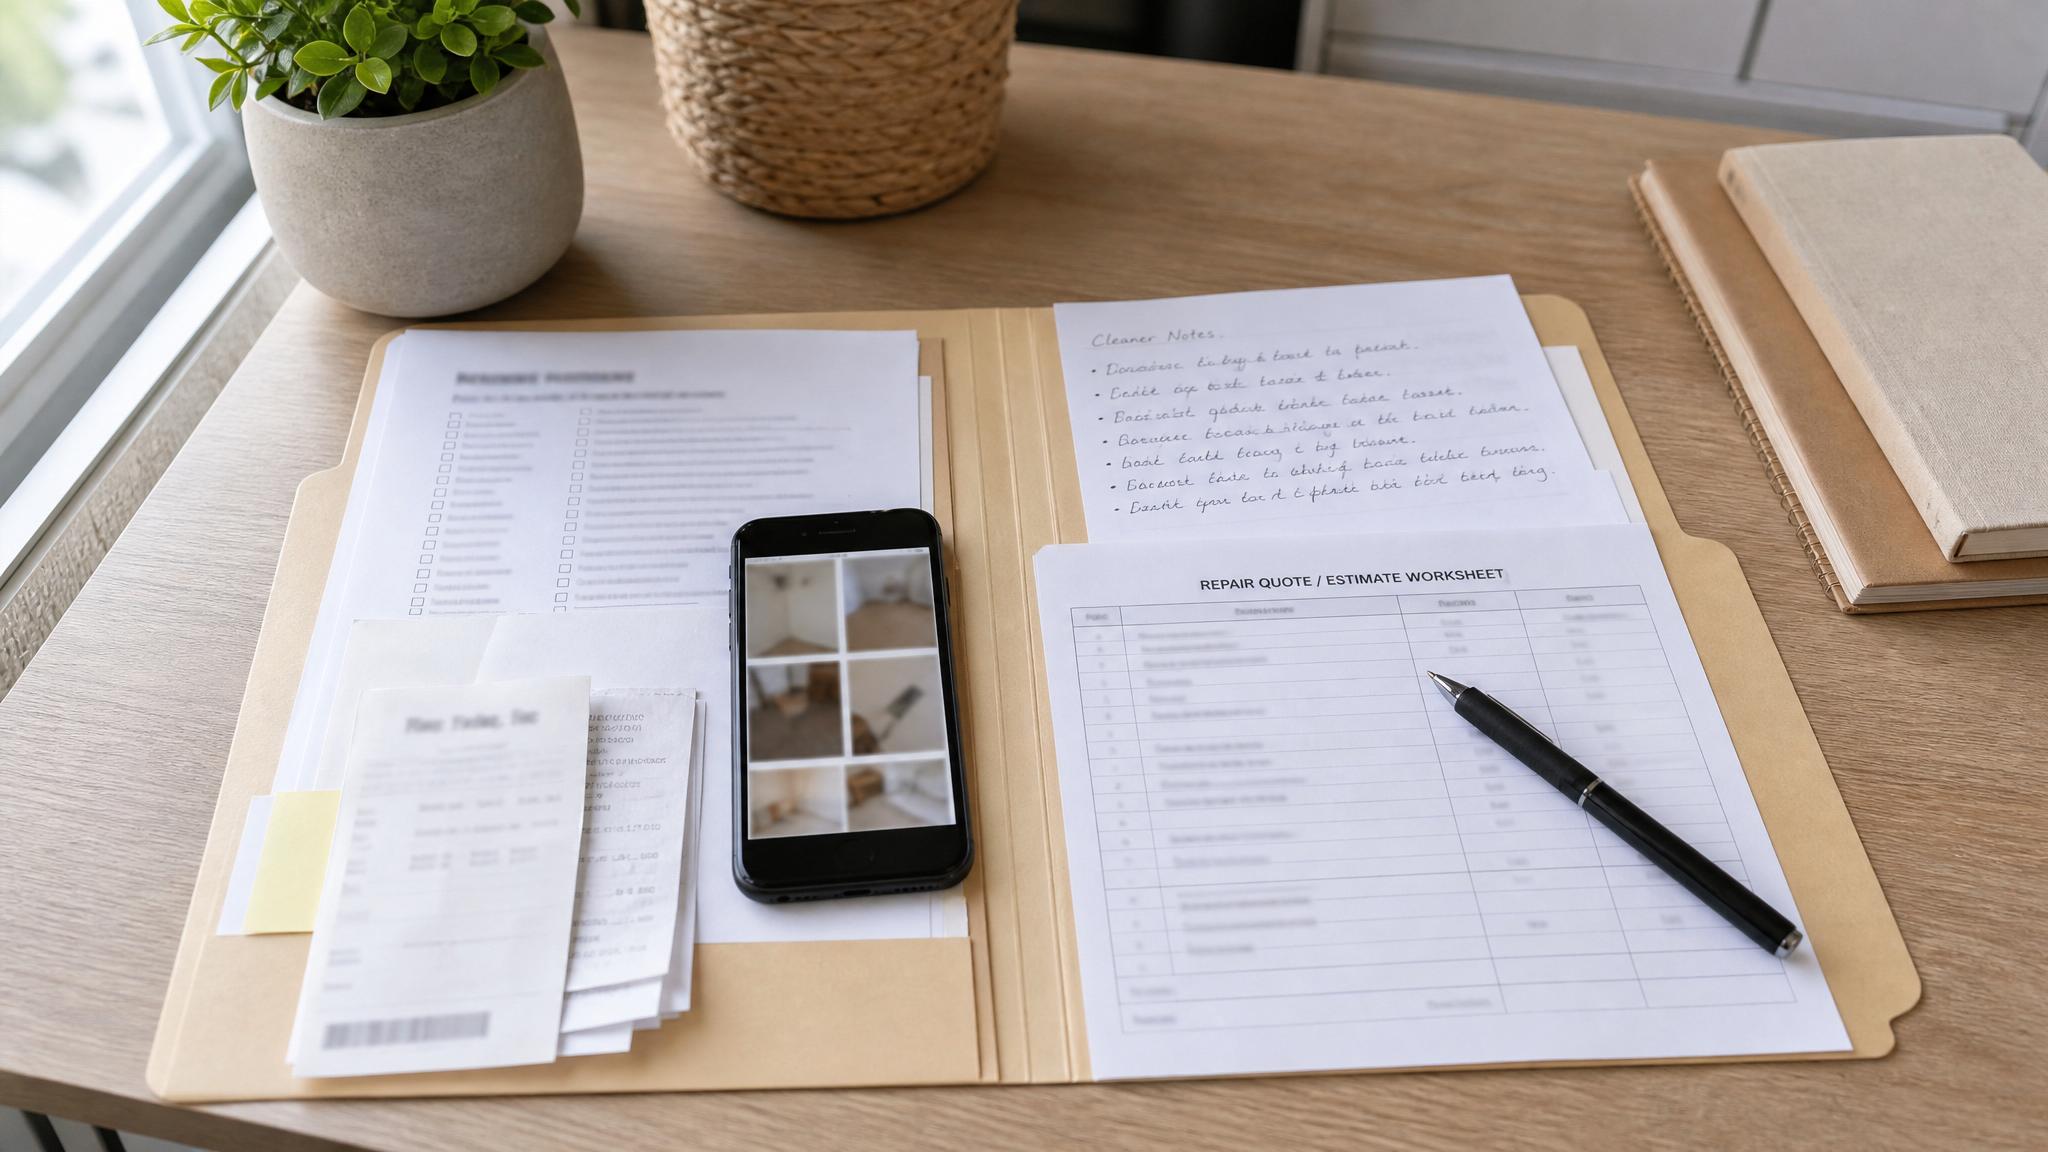
- Copies of important documents (passports, birth certificates, insurance policies) saved on a USB drive and/or in a waterproof bag.
- Cash in small bills.
- Comfort items for children, like a small toy or book.
- Special Considerations: Don’t forget supplies for babies (diapers, formula), pets (food, water, leash), and elderly family members (medications, glasses).
Step 3: Secure Your Home and Identify Safe Zones
Most earthquake-related injuries are caused by falling objects, not collapsing buildings. Mitigating these risks beforehand is a crucial safety step.
- Identify Safe Spots: In each room, identify the safest place to be. This is typically under a sturdy piece of furniture like a heavy desk or table, or against an interior wall away from windows.
- Secure Your Space: Anchor heavy furniture like bookcases, refrigerators, and entertainment centers to wall studs. Use museum putty or quake straps for smaller items. Install flexible gas and water lines. Secure your water heater to the wall—it’s a critical source of emergency water.
- Know Your Utilities: Locate your home’s main gas, water, and electricity shut-offs. Every responsible adult in the house should know how and when to turn them off. Only turn off the gas if you smell a leak or suspect a break.
Step 4: Practice and Maintain Your Family Earthquake Emergency Plan
A plan on paper is useless if it’s not practiced. Regular drills build muscle memory, which is what takes over when you’re too scared to think clearly.
- Run Drills Twice a Year: At least every six months, practice your plan. Yell “Earthquake!” and have everyone perform “Drop, Cover, and Hold On.” Practice getting to your safe spots.
- Simulate an Evacuation: After the “shaking” stops, practice grabbing your Go Bags and meeting at your designated neighborhood spot.
- Review the Plan: Talk through the communication plan. Quiz your kids on the out-of-state contact’s phone number. Make it a routine, not a scary event.
- Maintain Your Kits: Use your drill dates as a reminder to check and rotate the supplies in your kits. Swap out expired food and water, refresh batteries, and update medications and documents.
Creating a family earthquake emergency plan is one of the most important things you can do to protect your loved ones. It transforms fear of the unknown into a feeling of preparedness and control. Start with one step today—gather your family, start the conversation, and build your plan together.
Frequently Asked Questions About Family Earthquake Plans
How often should we update our family earthquake emergency plan?
You should review and update your plan at least once a year. However, it’s also important to update it anytime your family’s circumstances change, such as a move, a new school for your children, or a change in your work location. Use your bi-annual kit maintenance as a perfect time to review the plan as well.
What’s the most important item in an earthquake kit?
While every item is important, water is the most critical element for survival. A person can survive for weeks without food but only a few days without water. Ensure you have at least one gallon per person, per day, for a minimum of three days, with a two-week supply being the ideal goal.
How do I explain earthquakes to my young children without scaring them?
Focus on empowerment, not fear. Explain that the earth sometimes “wiggles and shakes,” and our job is to be safe helpers. Frame drills as a game, like practicing to be a turtle by getting under a table “shell.” Involve them in building the kits by letting them pick a special comfort toy or snack for their Go Bag. A calm, confident tone from you will help them feel secure.
What do we do if we are separated when an earthquake hits?
This is exactly why the communication plan is so vital. If you are separated, everyone should first ensure they are safe. Then, they should try to contact the designated out-of-state contact. Do not immediately try to travel across town. Wait for official instructions and, if safe, proceed to your pre-arranged family meeting spots only when it is clear to do so. The plan provides the necessary steps to ensure a safe reunion.